
(for lettuce)
(this article was originally posted on Medium last winter).
I’ve been (trying) to grow lettuce in the winter, in the basement of my 112 year old home, for three winters now. Up until this year, I had very little overall success. This past year, I decided to try something different.
In previous years, I tried growing lettuce the traditional way — in soil — and in staged containers. First, little starter plugs, then transplanted to 5″ clay pots. I had problems with algae (moss), with flies, and with mold and mildew in doing so. And I never got fully formed heads of lettuce. At best, I got maybe 10g worth of cut leaves off each of growing plants, which is very poor results for the work involved.
This year, I decided to try something very different. I decided to try hydroponics. But I was wary of spending a lot of money on building an aerated, aquarium pump driven hydroponics system that I’d have to worry about everything from Ph levels to leaks and overheating pumps. Then I found out about the Kratky Method of passive hydroponics, which lent its method well for leafy growings, like… lettuce.
Passive Lettuce Growing

I won’t go into detail about the Kratky Method (you can read more about it here), other than to say what you need for it. Pretty basic stuff:
- Covered tubs to hold the nutrient water (and be essentially “blacked out” to light, so the tubs must be dark in colour and not see-thru). I’ve used 3 gallon Rubbermaid bins that cost $5 each.
- Net Cups, which hold the plant and the growing medium ($10 for 50)
- Rock wool cubes or some other non-soil growing medium for the seed to grow in and the plant to take root in ($12 for 100)
- Clay pebbles (optional) to supplement the growing medium but also to block light going through the net cups to the water inside your tubs.
- Water soluble plant nutrients (a little goes a long way; the one I use is a half tsp per gallon of water) ($16 for a 2lb bag)
- A hole saw drill attachment, for drilling out the lids of your bins (I borrowed one from my neighbour) ($15ish)
- Clean water, free of chlorine; you can use tap water you leave out in an open bin for a few days (the chlorine evaporates)
- Grow Lights. I use a 4′ long “shop light” that I have 4 LED daylight (5500K) bulbs in that I’ve owned for a few years now, plus 2 banks of 2′ x 4 light “grow light” fluorescent grow lights I bought over 5 years ago. I’ve not included these in my own costs for this new setup, but you can get 4‘ LED 5500K shop lights for $45 or less.
All told, I spent about $75 to get an 8 bin setup, with each bin growing up to 6 plants (or 48 heads of lettuce). I like working out cost justification, so let’s do it here:
If you consider that a head of organic lettuce costs about $4 (that’s the cheapest local price I’ve found), just three bins’ full of lettuce (18 heads) covers your cost. Everything afterwards saves you money. If you successfully grow 48 heads of lettuce at a time, you’re saving $192 you’d be spending on this lettuce at the store.
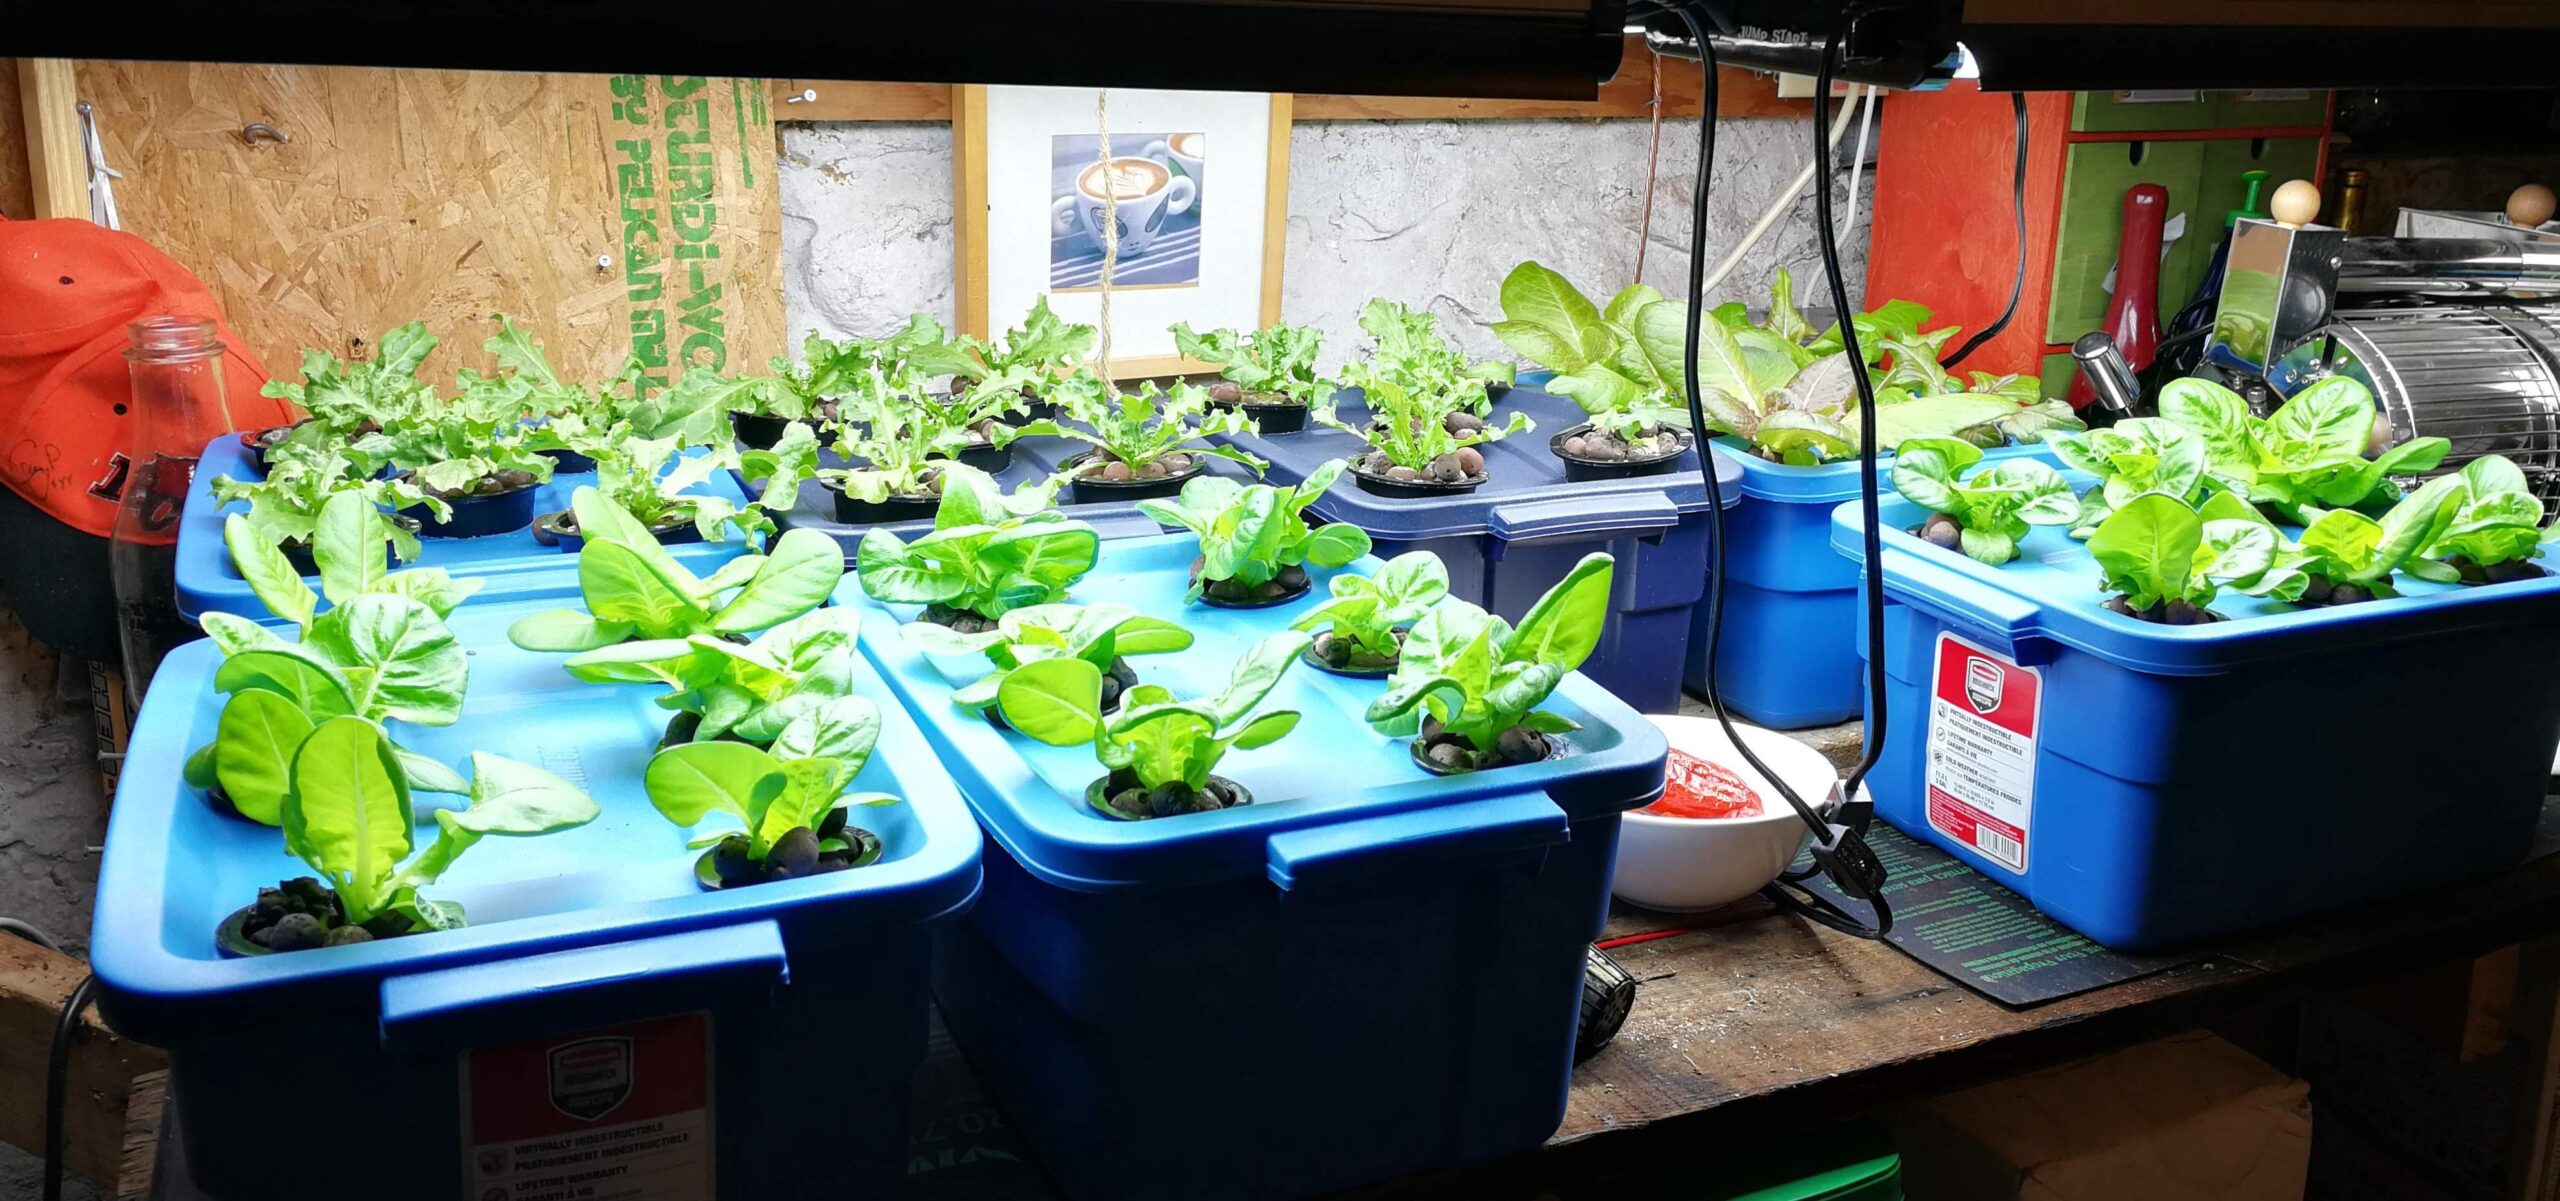
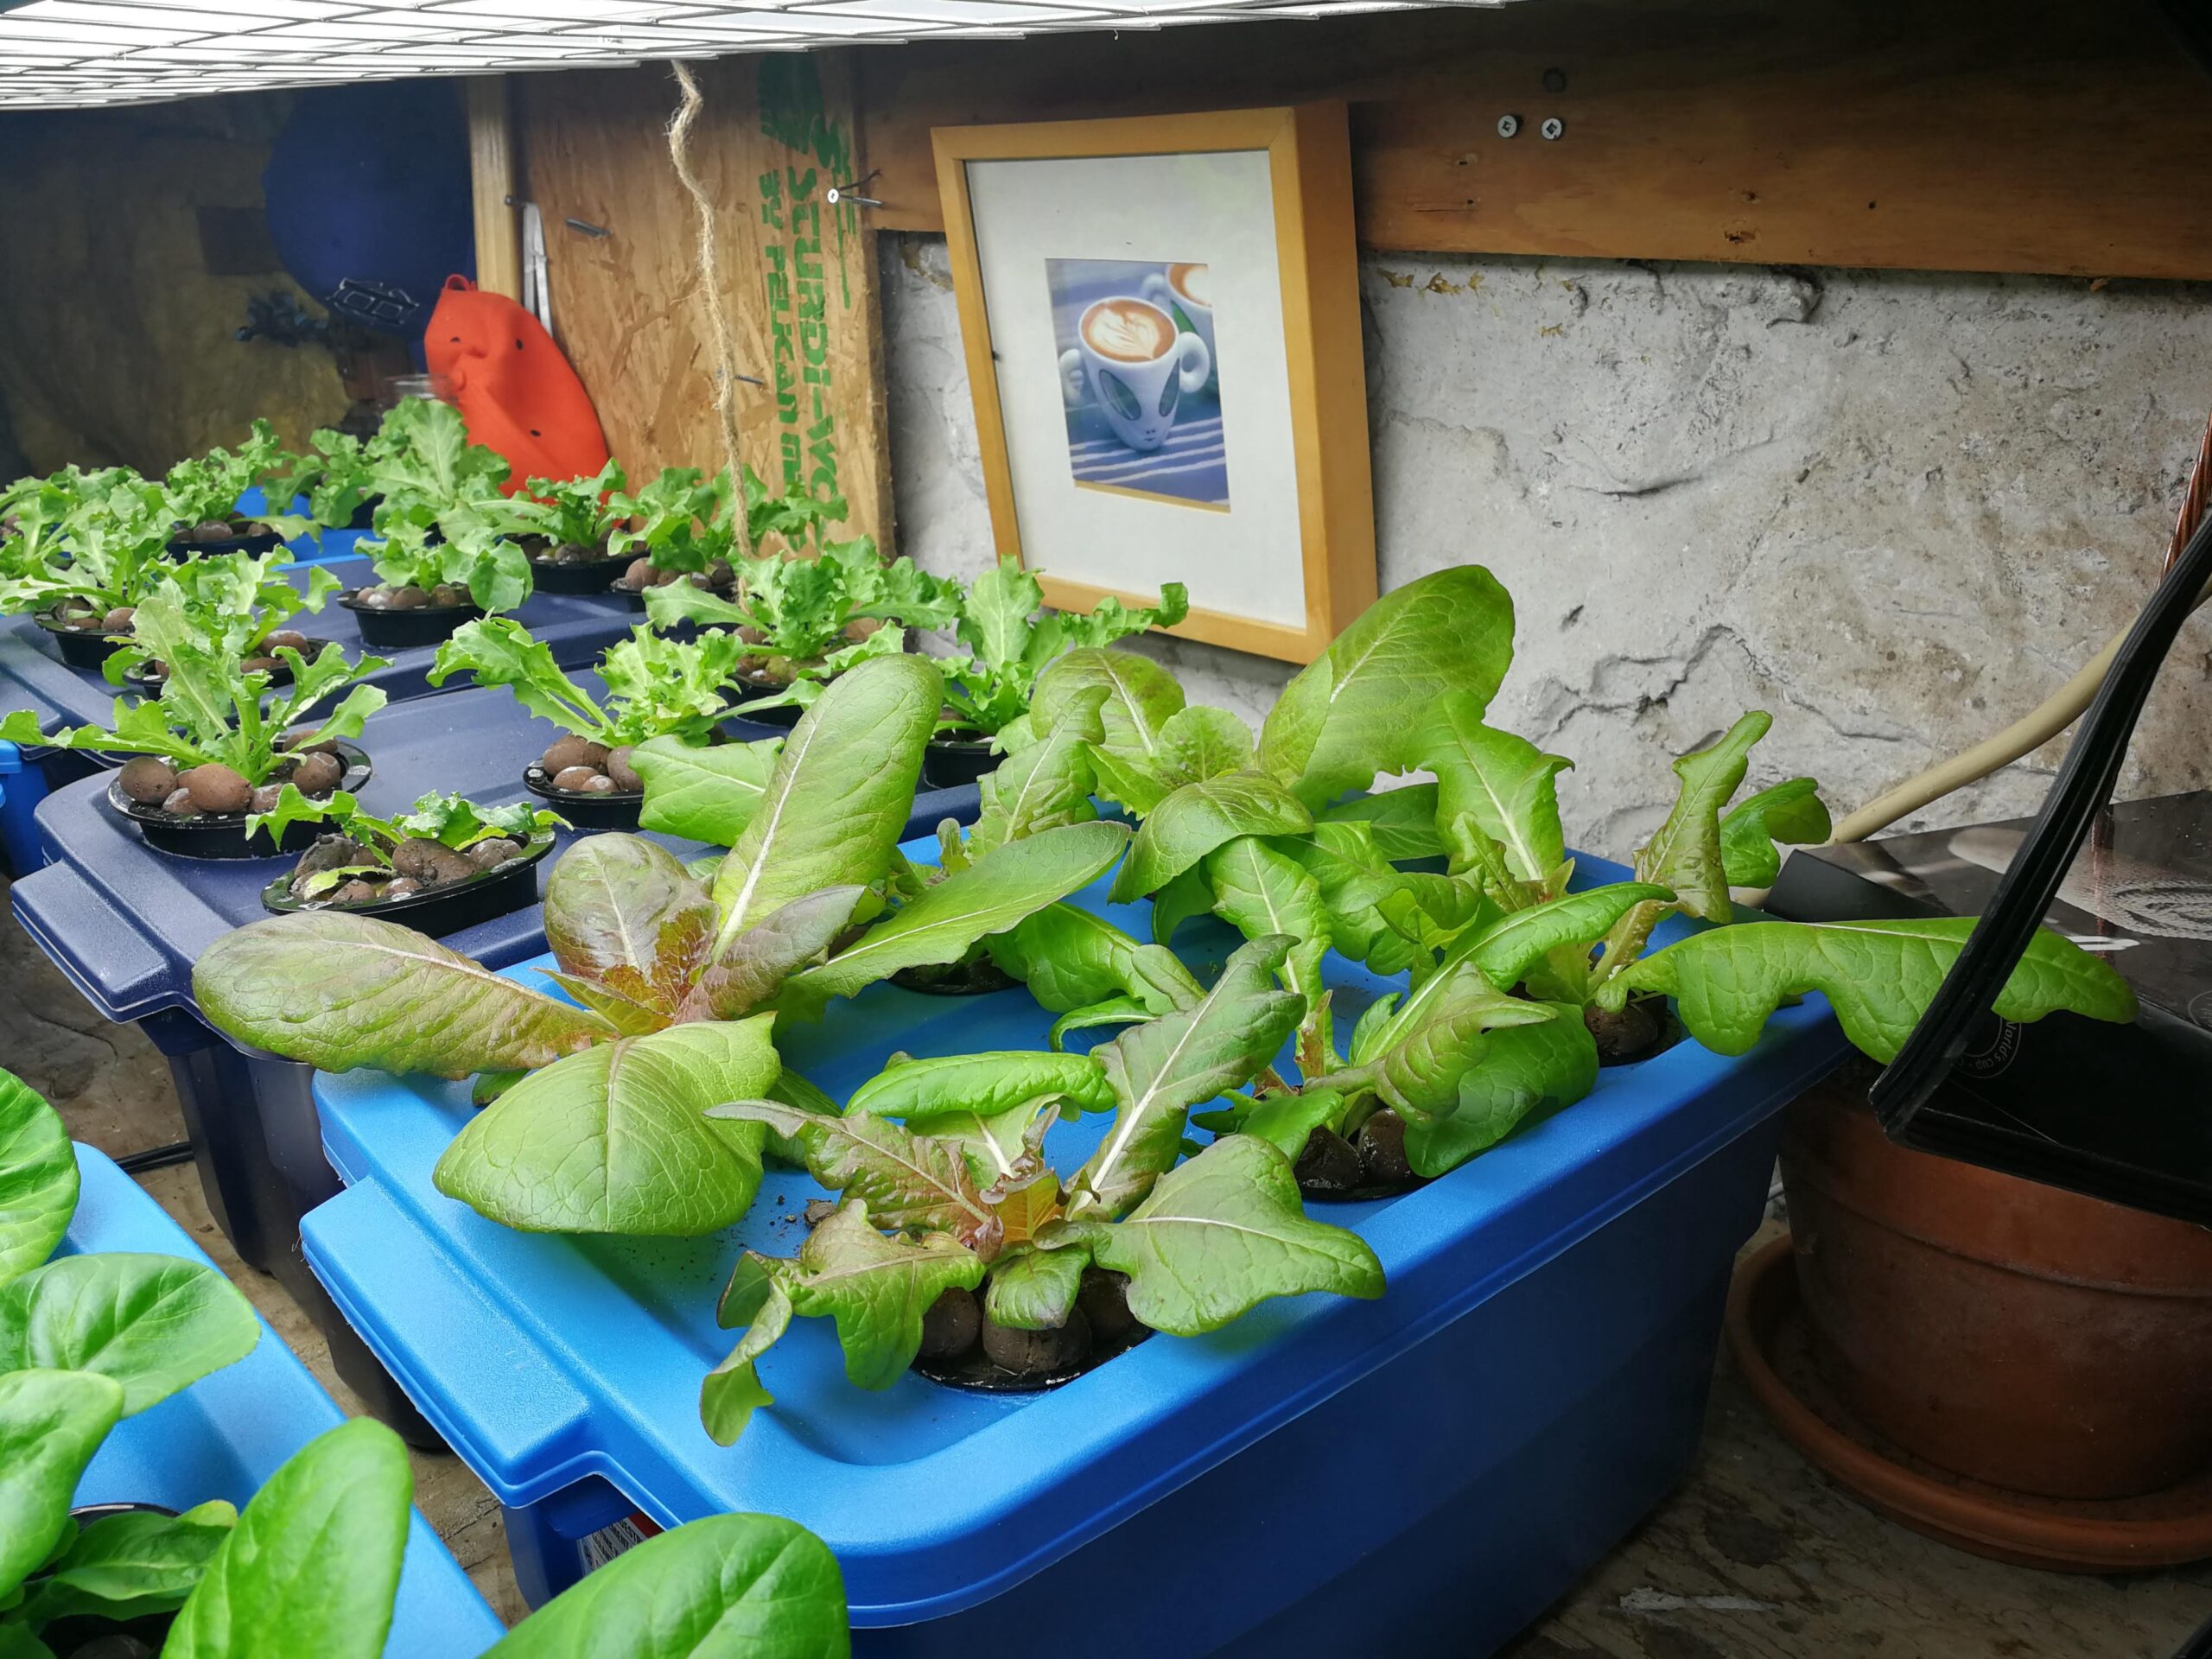
How it’s Going So Far
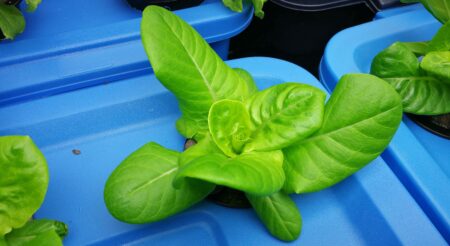
As you can see from the photo above, things are going well for my first attempt. I’m growing one bin of red romaine, 3 bins of Zidane endive, and three bins of Little Gem romaine that I started 1 week later than the other 4 bins. Here’s some progress photos:

Seedlings first planted with clay pellets (weights are to keep lids down). Taken 5 days after seeds sown. 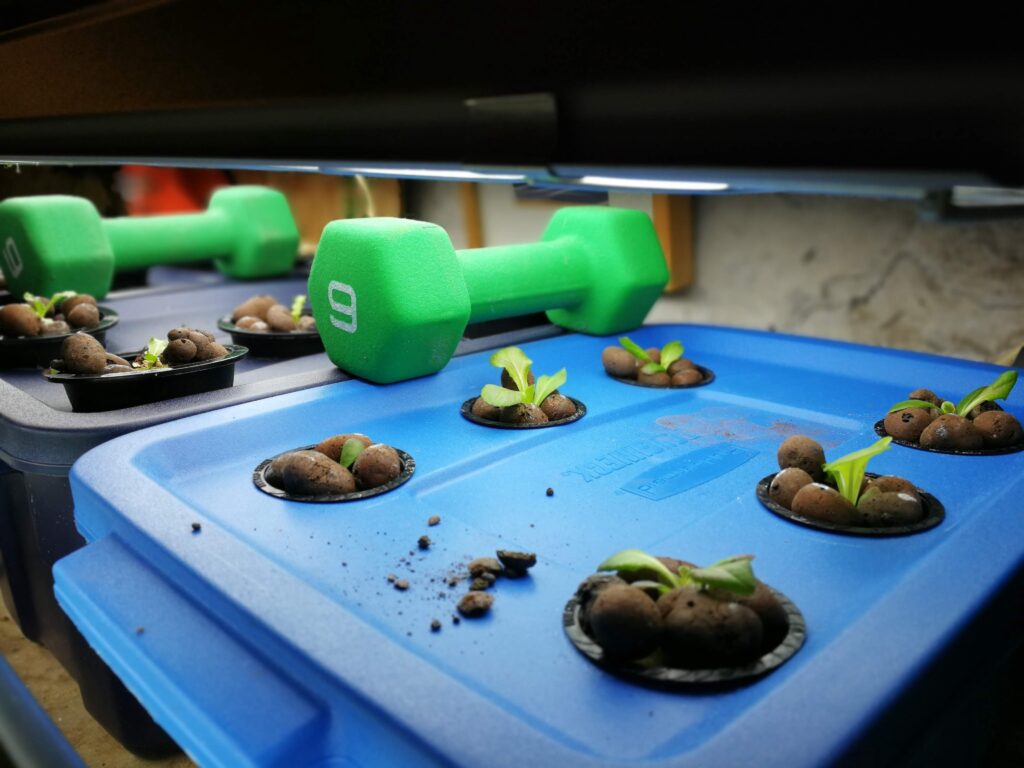
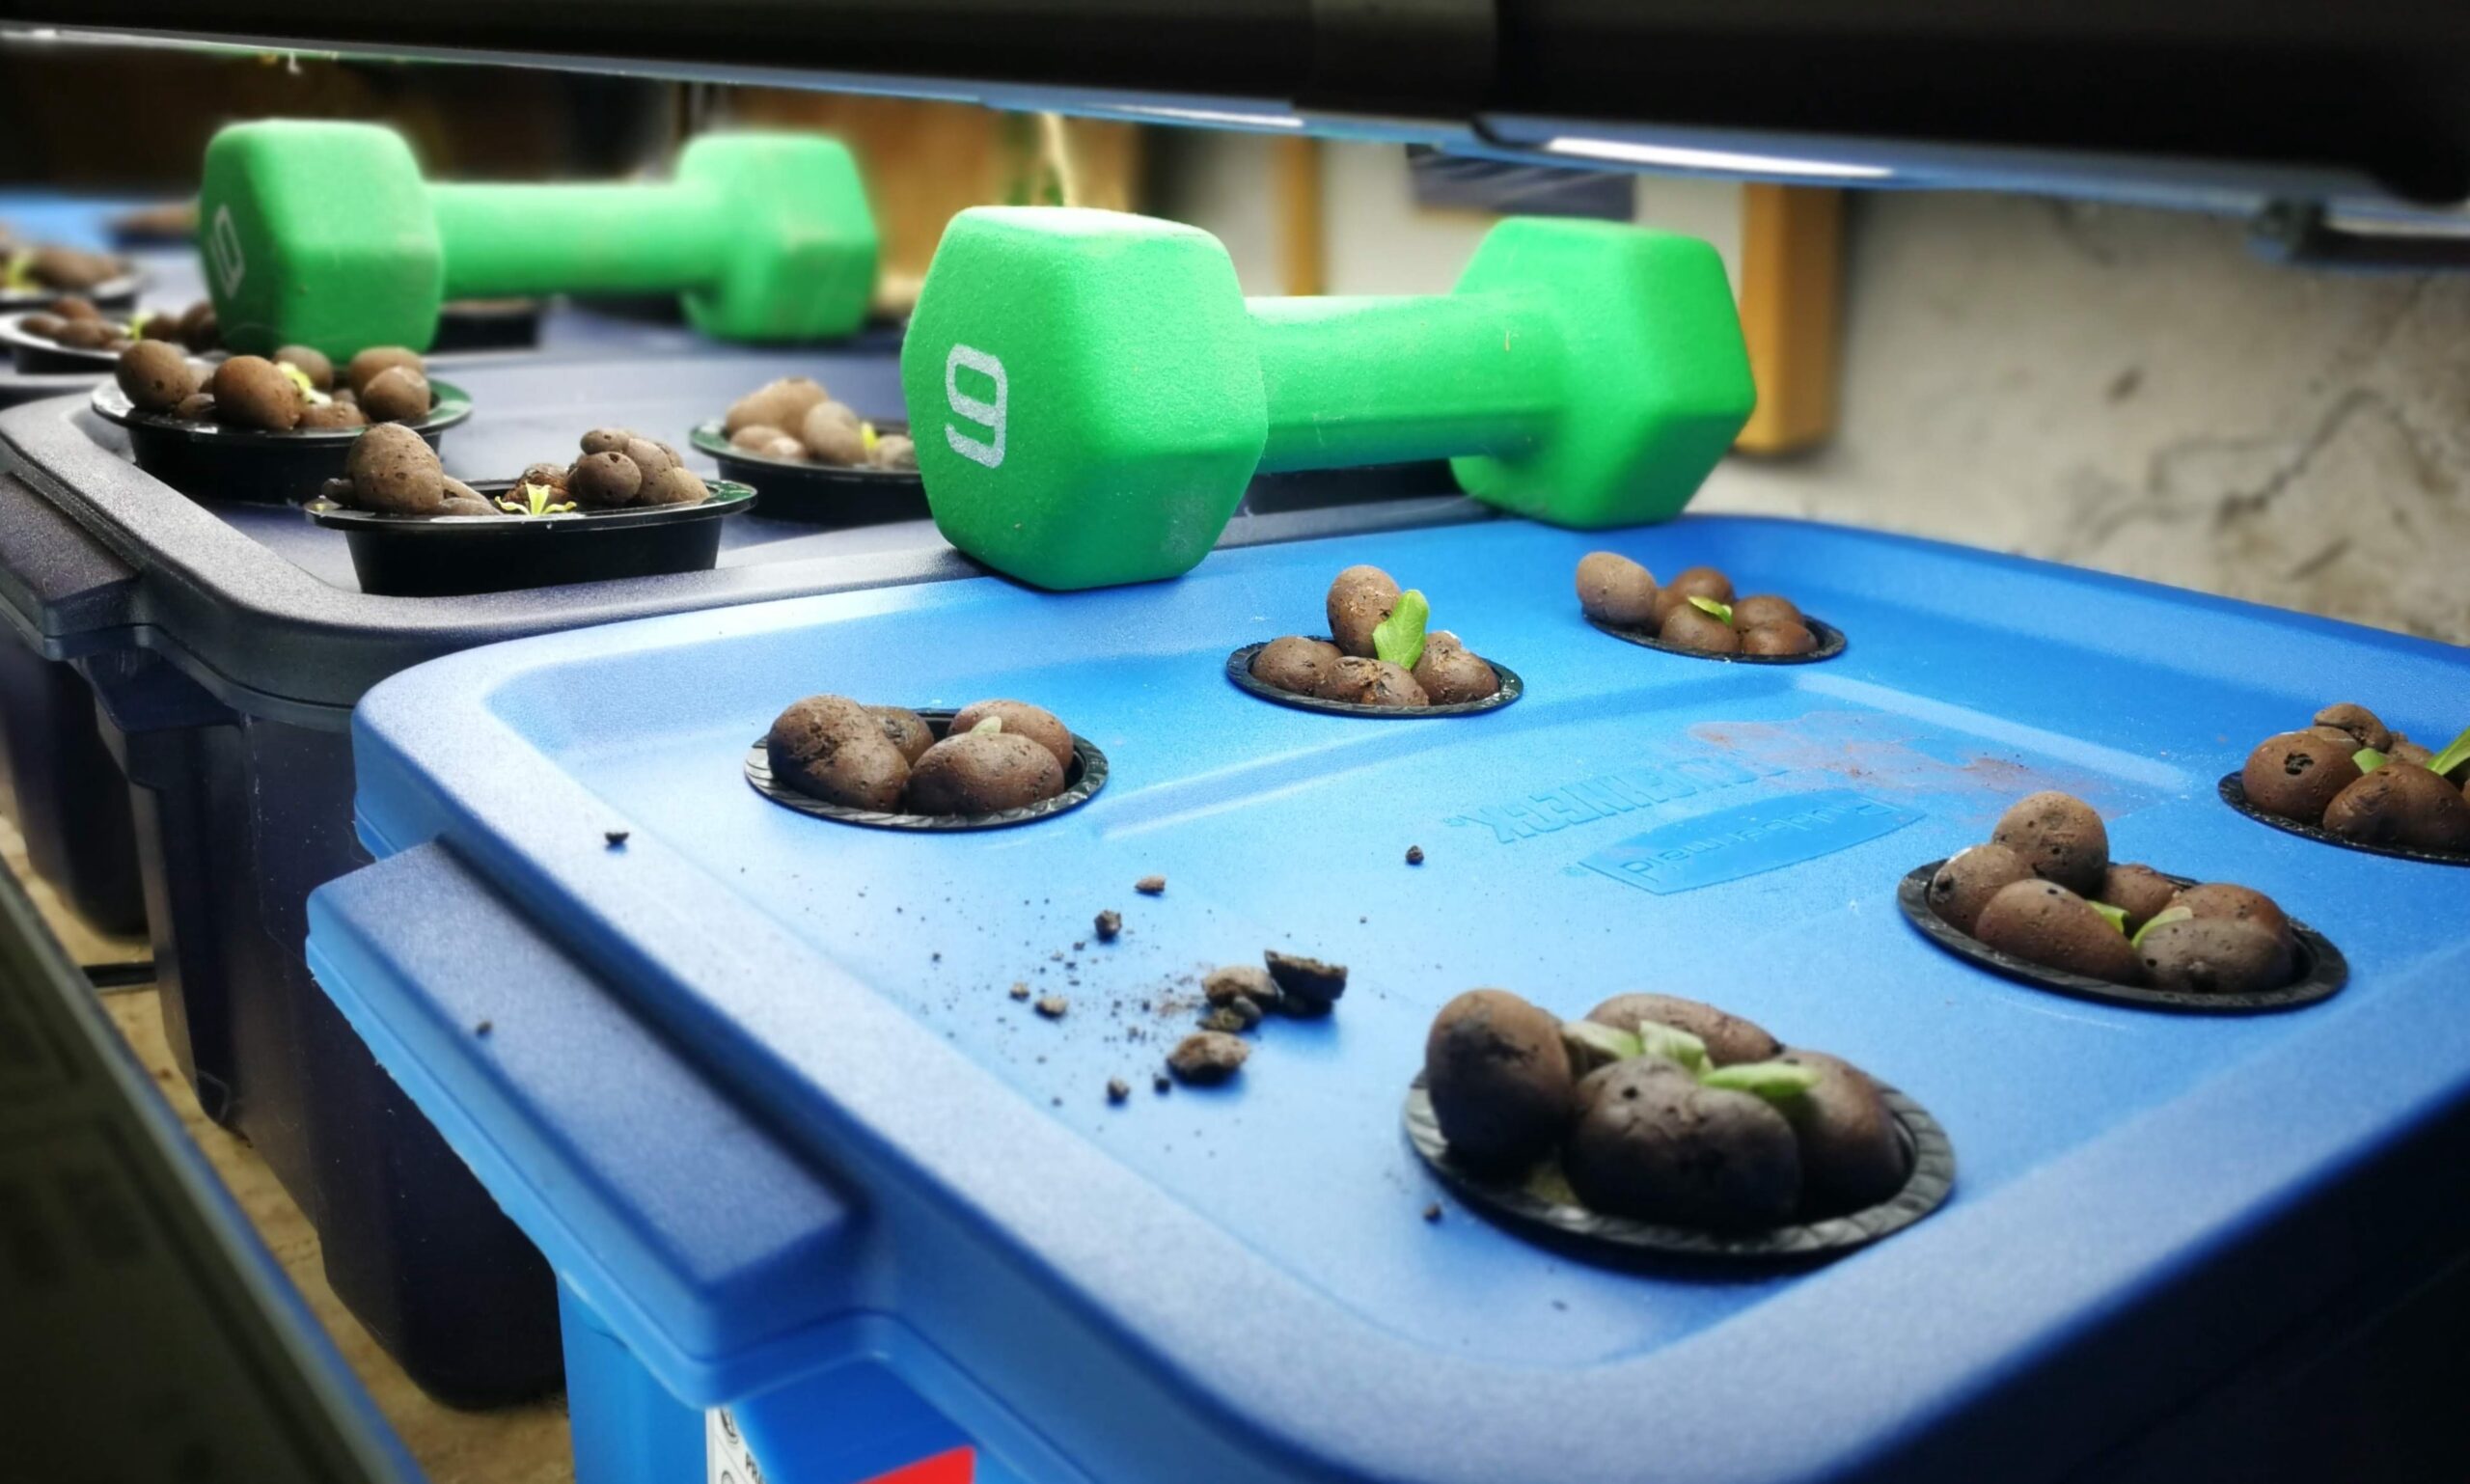
Seedlings after 5 days of growth in the pails — was very slow to start. Taken 10 days after seeds sown. 
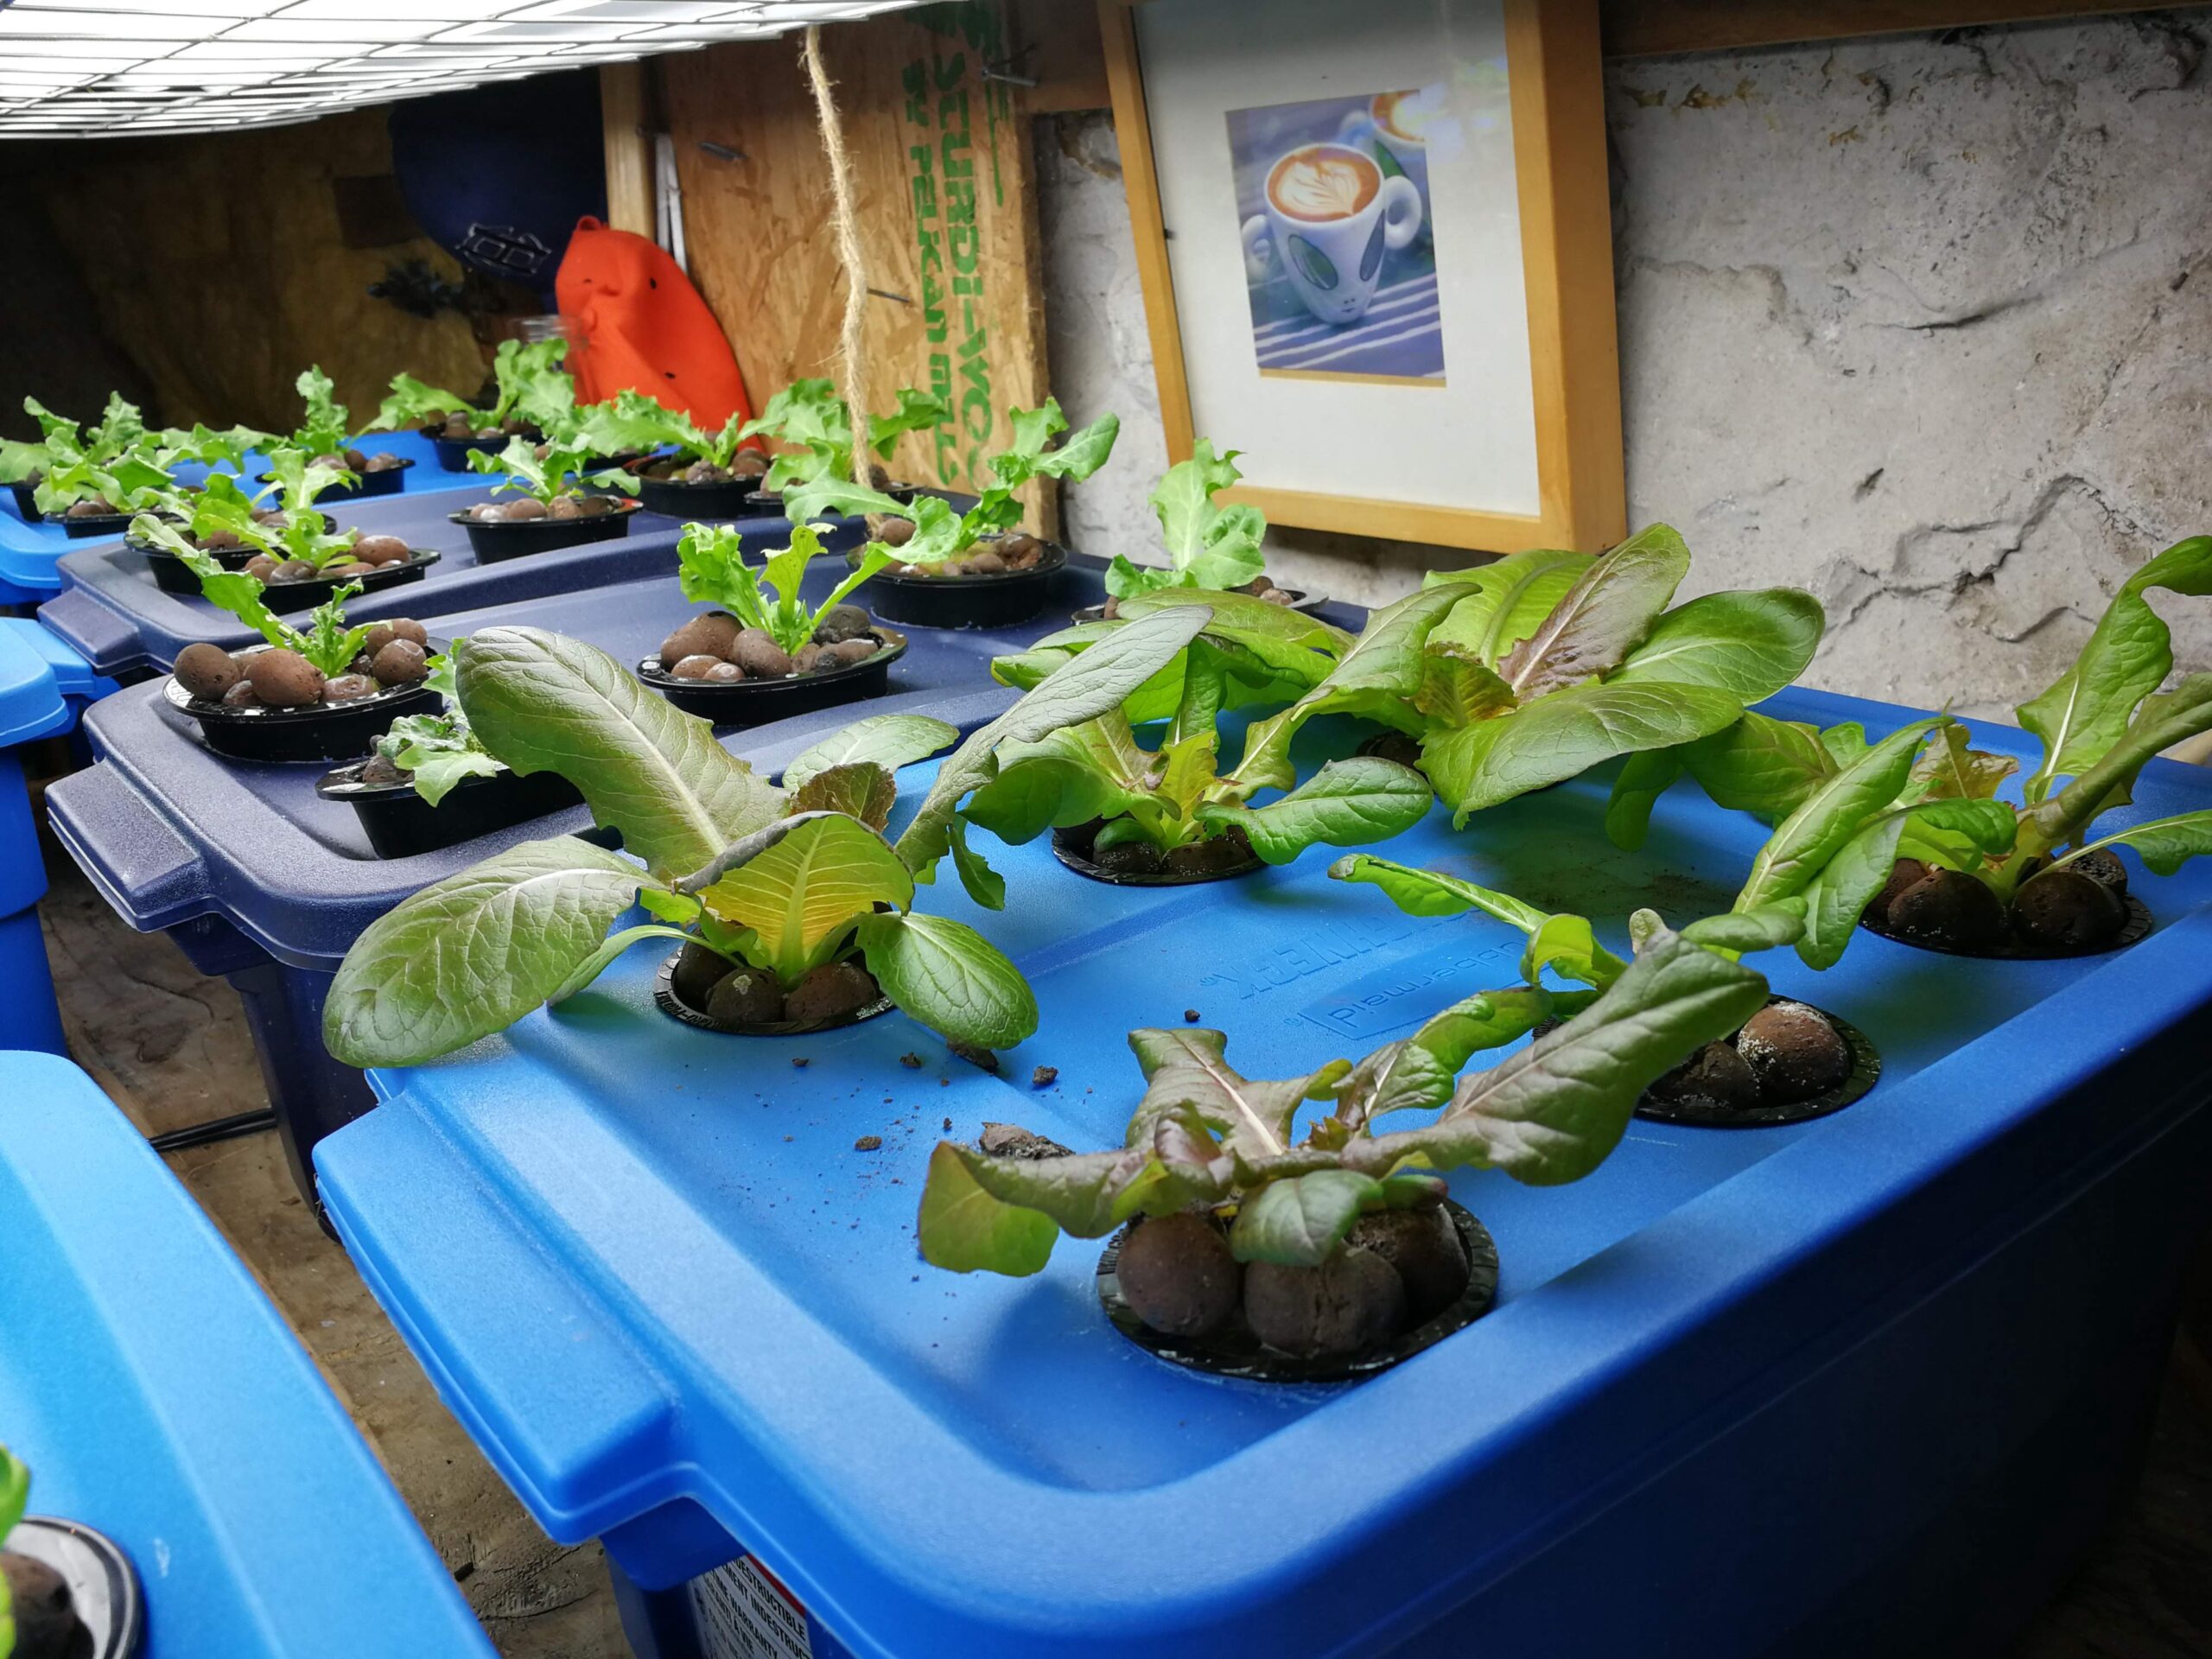
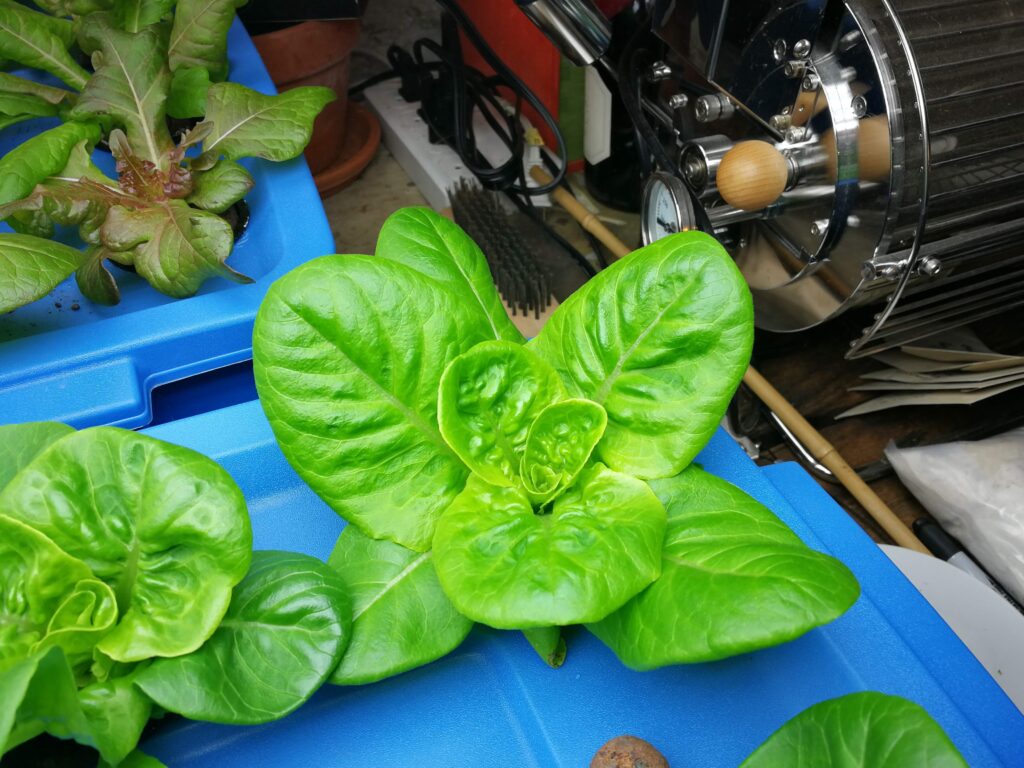
Lettuces in the back row after 20 days of growth in the pails; really starting to see some action. Taken 25 days after seeds sown. 
As of this article, the current progress after 25 days in the pails. Taken 30 days after seeds sown.

In about 25 days in the blue pails, there is enough growth that if you prefer the “cut and come again” method, you can start harvesting lettuce leaves by this point. We’re fortunate that we also have an outdoor grow area for lettuce (also boosted by LED grow lights), and we use that area for “cut and come again” lettuce harvesting, so I’m going to let this indoor lettuce continue to grow until it starts forming hearts and fuller heads.
What I’ve Learned About Passive Hydroponics
I’ve learned a few things about passive (Kratky method) hydroponics for lettuce growth.
First and foremost, it’s very important that your bins don’t let light in. Because there’s no agitation and no aeration of the nutrient water, algae can easily start to grow if the water has any exposure to light. Algae will screw up everything — your water Ph, the nutrients in your water, and your roots. I am even worried about the medium/dark blue I chose for bins — it might let a bit of light in — and I might spraypaint the outside black.
For this reason, I also added clay pellets to the tops of the net cups to help further block any light from getting inside through the net cups’ cutouts.
Second thing I learned: don’t sweat certain details. When watching videos of setting up a Kratky hydroponic setup, most of the presenters were competely anal retentive about making sure the holes they cut in the bin lids were super clean and burr free. Some even took to using nail files to “polish” the hole cuts. I honestly don’t get it. I quickly banged through drilling six 2″ holes in each of the lids, and barely cleaned anything up at all. My main thing was getting all the plastic shavings out of the bins; I’m pretty sure the Rubbermaid bins aren’t BPA free, and I wanted to make sure there weren’t any floaty shavings of the cut plastic inside the bins after I added water. That was it.
Third thing I learned: let your water “settle” for a few days before adding your nutrients and adding the water to your bins. We have amazing water in Victoria, BC — it’s almost perfect for hydroponics in mineral content and pH level — but there’s also some chlorine in the water. Hydro don’t like chlorine. Simple solution: leave the bins, full of water, exposed to air for a few days before adding your nutrients and sealing things up. Chlorine will evaporate from the water into the air in that time. Helps to give it a stir a few times a day.
Otherwise, use denatured water.
I’m also thinking if I had tented off this grow area with reflective mylar or even sheets of aluminum, things would be growing even faster. Overhead grow lights don’t work the same as outside daylight. Outside, light will hit most areas of the plant; indoors, with overhead lights only, light hits the tops of the plants, but not the sides or bottom. By having a mylar tent, I’d probably have even faster, more even lettuce growth. I’m going to look into it, like buying something like this down the road.
Conclusion
Well that’s it so far. My basement hydroponics setup cost $75 to start, takes up about 5 feet by 4 feet of table space, and lets me grow up to 48 heads of lettuce at one time. We consume 3 to 4 heads of lettuce a week in our home (salads every day, sometimes twice a day), so this is more than enough for us to go through, and it actually works with lettuce’ growth cycle in our home.
With 48 heads growing, and a roughly 45–50 days’ growing time to form a full head of lettuce, as long as I start a new plant each time I remove a head from the “system”, that new planting will take 45–50 days to form a harvestable head of lettuce, renewing the cycle and keeping us in fresh lettuce every day.
I’ll update this article as things progress, including photos of our first harvest.


One Response
Thanks buddy!