For several years now, I’ve been thinking about growing microgreens at home. I have been buying them for about a decade at the fruit and veg stores, dropping $5-$7 for a paltry 100-150g of them, at least once a week because I like them so much as my “green” choice on… everything. Burgers. Sandwiches. Pizza. Pasta. Sushi. Mixed in my salad. You name it.
For the longest time, I didn’t even bother looking into growing my own microgreens because I thought it would be an expensive and intensive thing. After all, if you’re paying up to $7 for a hundred grams of the stuff, it must be labour intensive, require high skill, and have many hidden costs, right?
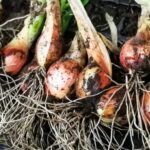
That’s what I thought. Then last year, I decided to really look into it. I saw my favourite seed vendor, West Coast Seeds, sold little $10 packs of “bulk seeds” for microgreens (hah hah! I soon would really find out what bulk seeds are for microgreens), including stuff like arugula, amaranth, pea shoots, sunflowers, beets, and something they called a “2 week microblend”. So I picked up a few packages and went home to do research.
The Bulk of Microgreen Information Online is Commercial in Nature
This was the first thing I found out when researching growing microgreens. It’s all about setting up your little hobby commercial farm in your basement or 2 car garage (or a larger, heated greenhouse), and selling the product to “high end restaurants”. High End Restaurants. That’s probably one of the most common phrases when you search for microgreens.
Almost none of the information I wanted to find was easily available online. This included
- grams of seed per sq.ft / sq.m, depending on the seed type
- sources for good smaller trays to grow the microgreens in (growing in standard 10″x20″ “flats” produces too much for a small household to use in time)
- easy find growing mediums that a consumer, at home can easily buy (there’s lots of soil-less systems out there for microgreen growing but they’re sold in bulk and B2B mostly)
- tips and tricks on specifically how to grow in the home on a budget (most info is about buying expensive lighting systems, timers, drainage systems, the works)
- how to do partial harvests and not have the plants suffer (or fall over lol, which is a problem)
- growing times for specific seed types (it’s all a ballpark)
Seed Density
On the first part: grams of seed to use per square foot or square meter: for some reason, companies treat this like top secret, classified information.
Here’s one example: Johnny’s Seeds, which sells a lot of microgreen seed, have a video on Youtube called “Correct Seeding Density and Yield”. You’d think it would be all about how much seed per sq.ft to use, right? Nope, they kinda skip over that. And when asked in the comments to specifically provide that info, this was their answer.
They are not alone. West Coast Seeds is very vague on how much seed to use per square meter or foot. Others are too. In a commercial setup, you can (and should) figure out your own seed density to use for each seed type by doing experimental trays, and tracking the growth and vigor of the plants — part of “doing business”. But the home gardener doesn’t have the time or money to waste on growing 5 or 6 “experimental trays” of each seed type to find out a good density for themselves. Vendors should be providing this information, but for some reason, they refuse to.
Trays
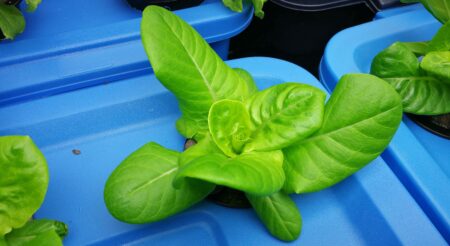
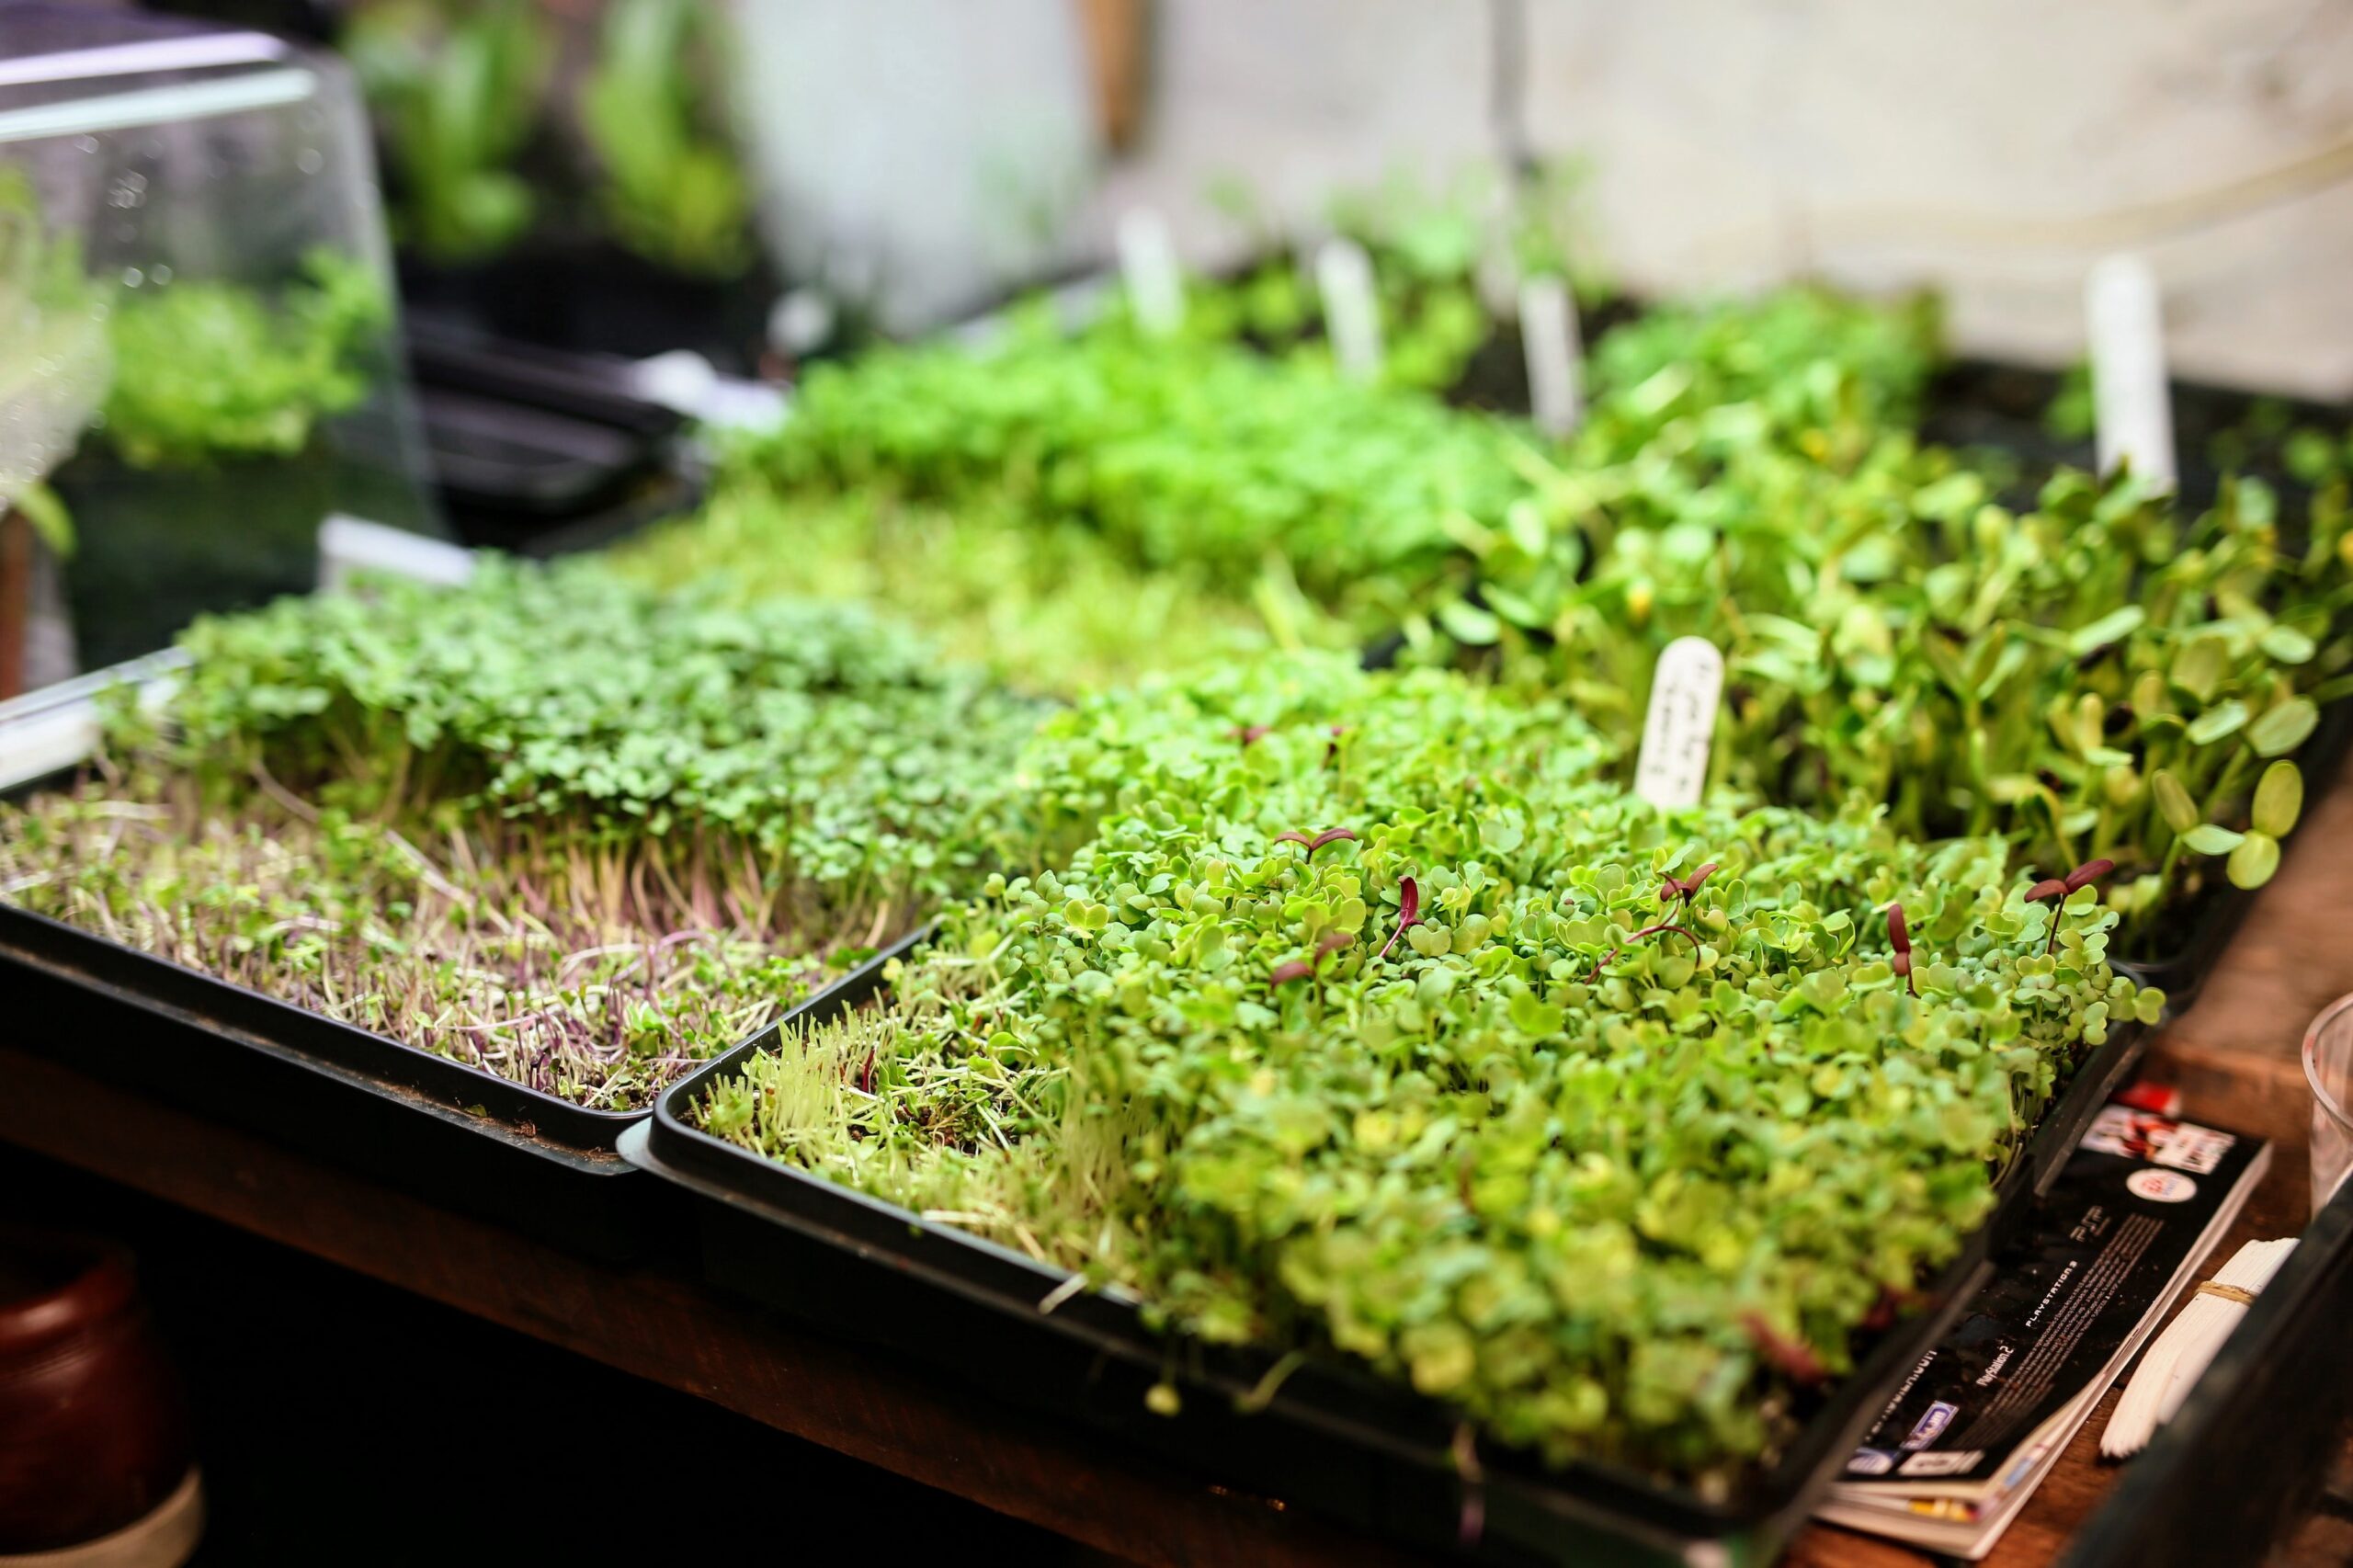
On trays, well, I found my own sort-of suitable trays. They are flimsy as heck, but are a foot square (12″x12″) and you can find them anywhere, pretty much: they are those Jiffy 25 Starter “Greenhouses”. For a small family, a couple, or just yourself, these are more than big enough to grow microgreens at home, but be wary: they are flimsy and can tear easily, so be kind to them. Typically, these trays produce about 120–250 grams of microgreens, depending on what you’re growing.
But guess what. You can grow microgreens in just about any tray (I’d stick to plastic though, for weight savings). Lately, I’ve been growing some more rare microgreens (ones I don’t want a full tray of) in… sushi takeout trays! I’m not kidding. Here’s my early experiments with them to see if it worked, having only 1.5cm of soil in them. It did:
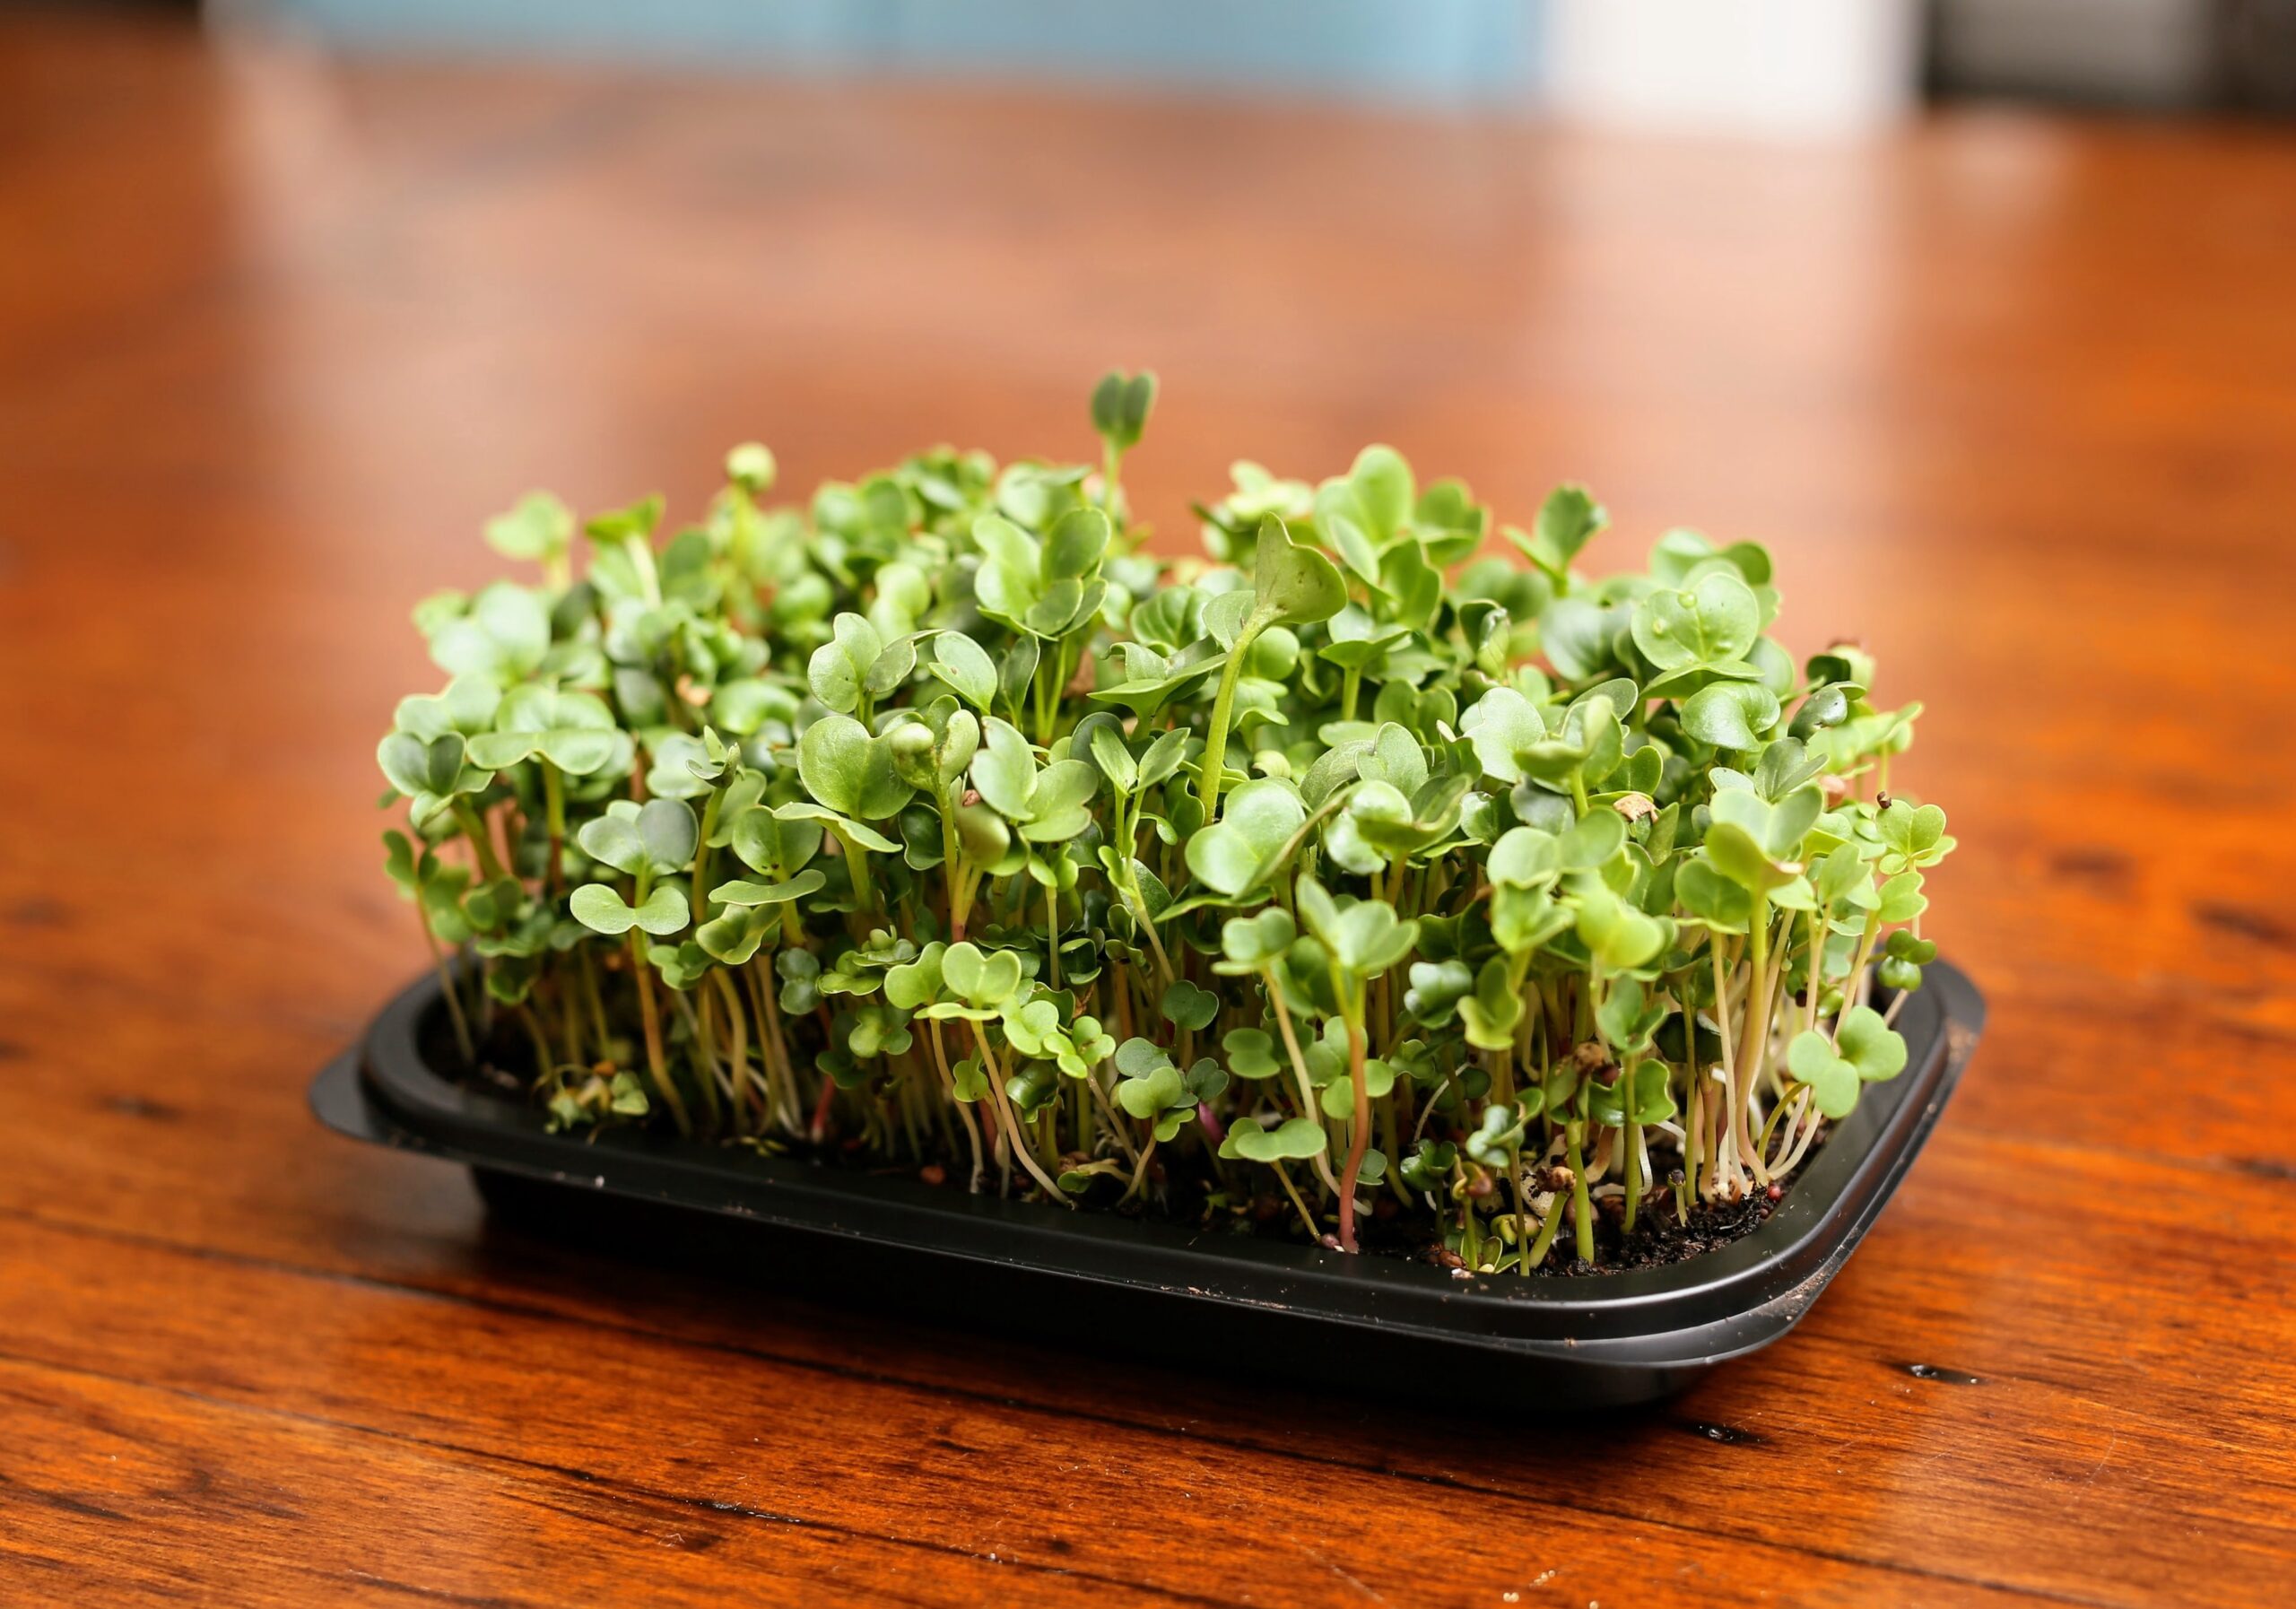
’ve grown microgreens, successfully in standard 10″x20″ trays, the foot square Jiffy Greenhouse trays, various takeout trays, in roasted chicken trays (the kind you see sold at the grocery store), and even in plastic strawberry trays. You don’t have to spend a dime on fancy trays, if you don’t want to.
Growing Mediums
Sigh. I’m still using sterilized potting soil to grow my microgreens. And I don’t like it. I end up composting all that dirt, cut stems and roots, but it seems such a waste. One reason I have been trying alternative trays (like the low profile sushi trays) is because they use less soil. I could use less soil in standard 10×20 trays or the Jiffy foot square trays, but then it’s harder to do your harvest, as much of the stem of the plants (which you want to get) is below the edge of the trays and harder to cut.
I’m seriously looking for good alternatives here, still. My soil costs per tray add up, and my compost is overflowing. But for you, at home, sterilized potting soil mix is still your best option.
How to do it all on a budget
Initially, I didn’t really spend a lot on microgreens, I just relied on stuff I already had (10×20 trays, which I use in our gardening a lot for starters), soil I already had, and my only expenditures were the seeds, which I paid a lot for (before I learned better). And I relied on natural light to grow the plants.
Which, in Victoria, with our 8hr of daylight in winter, (and also, our very shaded home and property) isn’t all that great for growing microgreens. But my first season doing it (last winter), that’s how I did it, and I had some success, having the trays indoors, in our sunniest, south facing windows. My wife didn’t like it much though, because that spot was also her favourite reading area and I had pretty much taken it over for growing plants.
But… if you have several sunny rooms in your home year round, your only cost for successfully growing microgreens could be a) soil, and b) seed.
In my case, growing the trays provided sometimes inconsistent results, slower growing times, and worst of all, I’d occasionally have mold and growth problems, where seed just didn’t “take” and start sprouting. I’d end up with bald patches in my trays, and one thing about microgreens is this: they want density. The tiny plants are very weak and delicate, and if they don’t have hundreds of other stems to rest up against, they fall over. Once they fall over, they start dying, going bad, and more potential mold problems happen.

For absolute best success, microgreens should have direct overhead light for a minimum of 12 hours a day. Provide that, and your trays become foolproof.
So that’s where I blew my budget. I ended up buying three of these light systems, and in our basement, they are spread out over a 6 foot by 7 foot table area that is my new “grow lab”. That was a $400 expenditure in Canada, but this was a big investment that also goes towards our regular outdoor gardening and providing me a controlled environment indoors, in our rough basement, for doing plant starts early in the spring and late winters. You don’t have to buy three of these. One will do for microgreens, and that’s under $100 US. Or you can buy even cheaper — this 4 light T5 system is only $60. Just stay away from the LED lights… for now. Reason? They provide no heat, and heat from the fluorescent T5 full spectrum bulbs helps your plants grow better.
So, if you want to grow microgreens efficiently, with better volume and better control, and with less growing problems, you must invest in a lighting system. That will be your biggest one time expense.
And once you get a lighting system, you really should get an outlet timer (or even better, a modern wifi/alexa/google home digital outlet adapter!) to automatically turn on and off your lights every day.
Another expense you might have, depending on what type of microgreens you want to grow, and how cold your basement is in winter, are seedling heat mats to put under your trays (under $15 each). Our basement does get fairly cold in the winter (it’s a 110 year old house with a 6 foot roughed in basement!) so I have two of these going under some of my microgreen trays — carrot microgreens , basil, and celery microgreens). That said, most of my microgreens don’t mind the 12–15C temperatures down there, and even thrive from them. This is where you need to find out what temperatures your seed choices germinate best at, to determine if you need heating mats or not.
How to do partial harvests
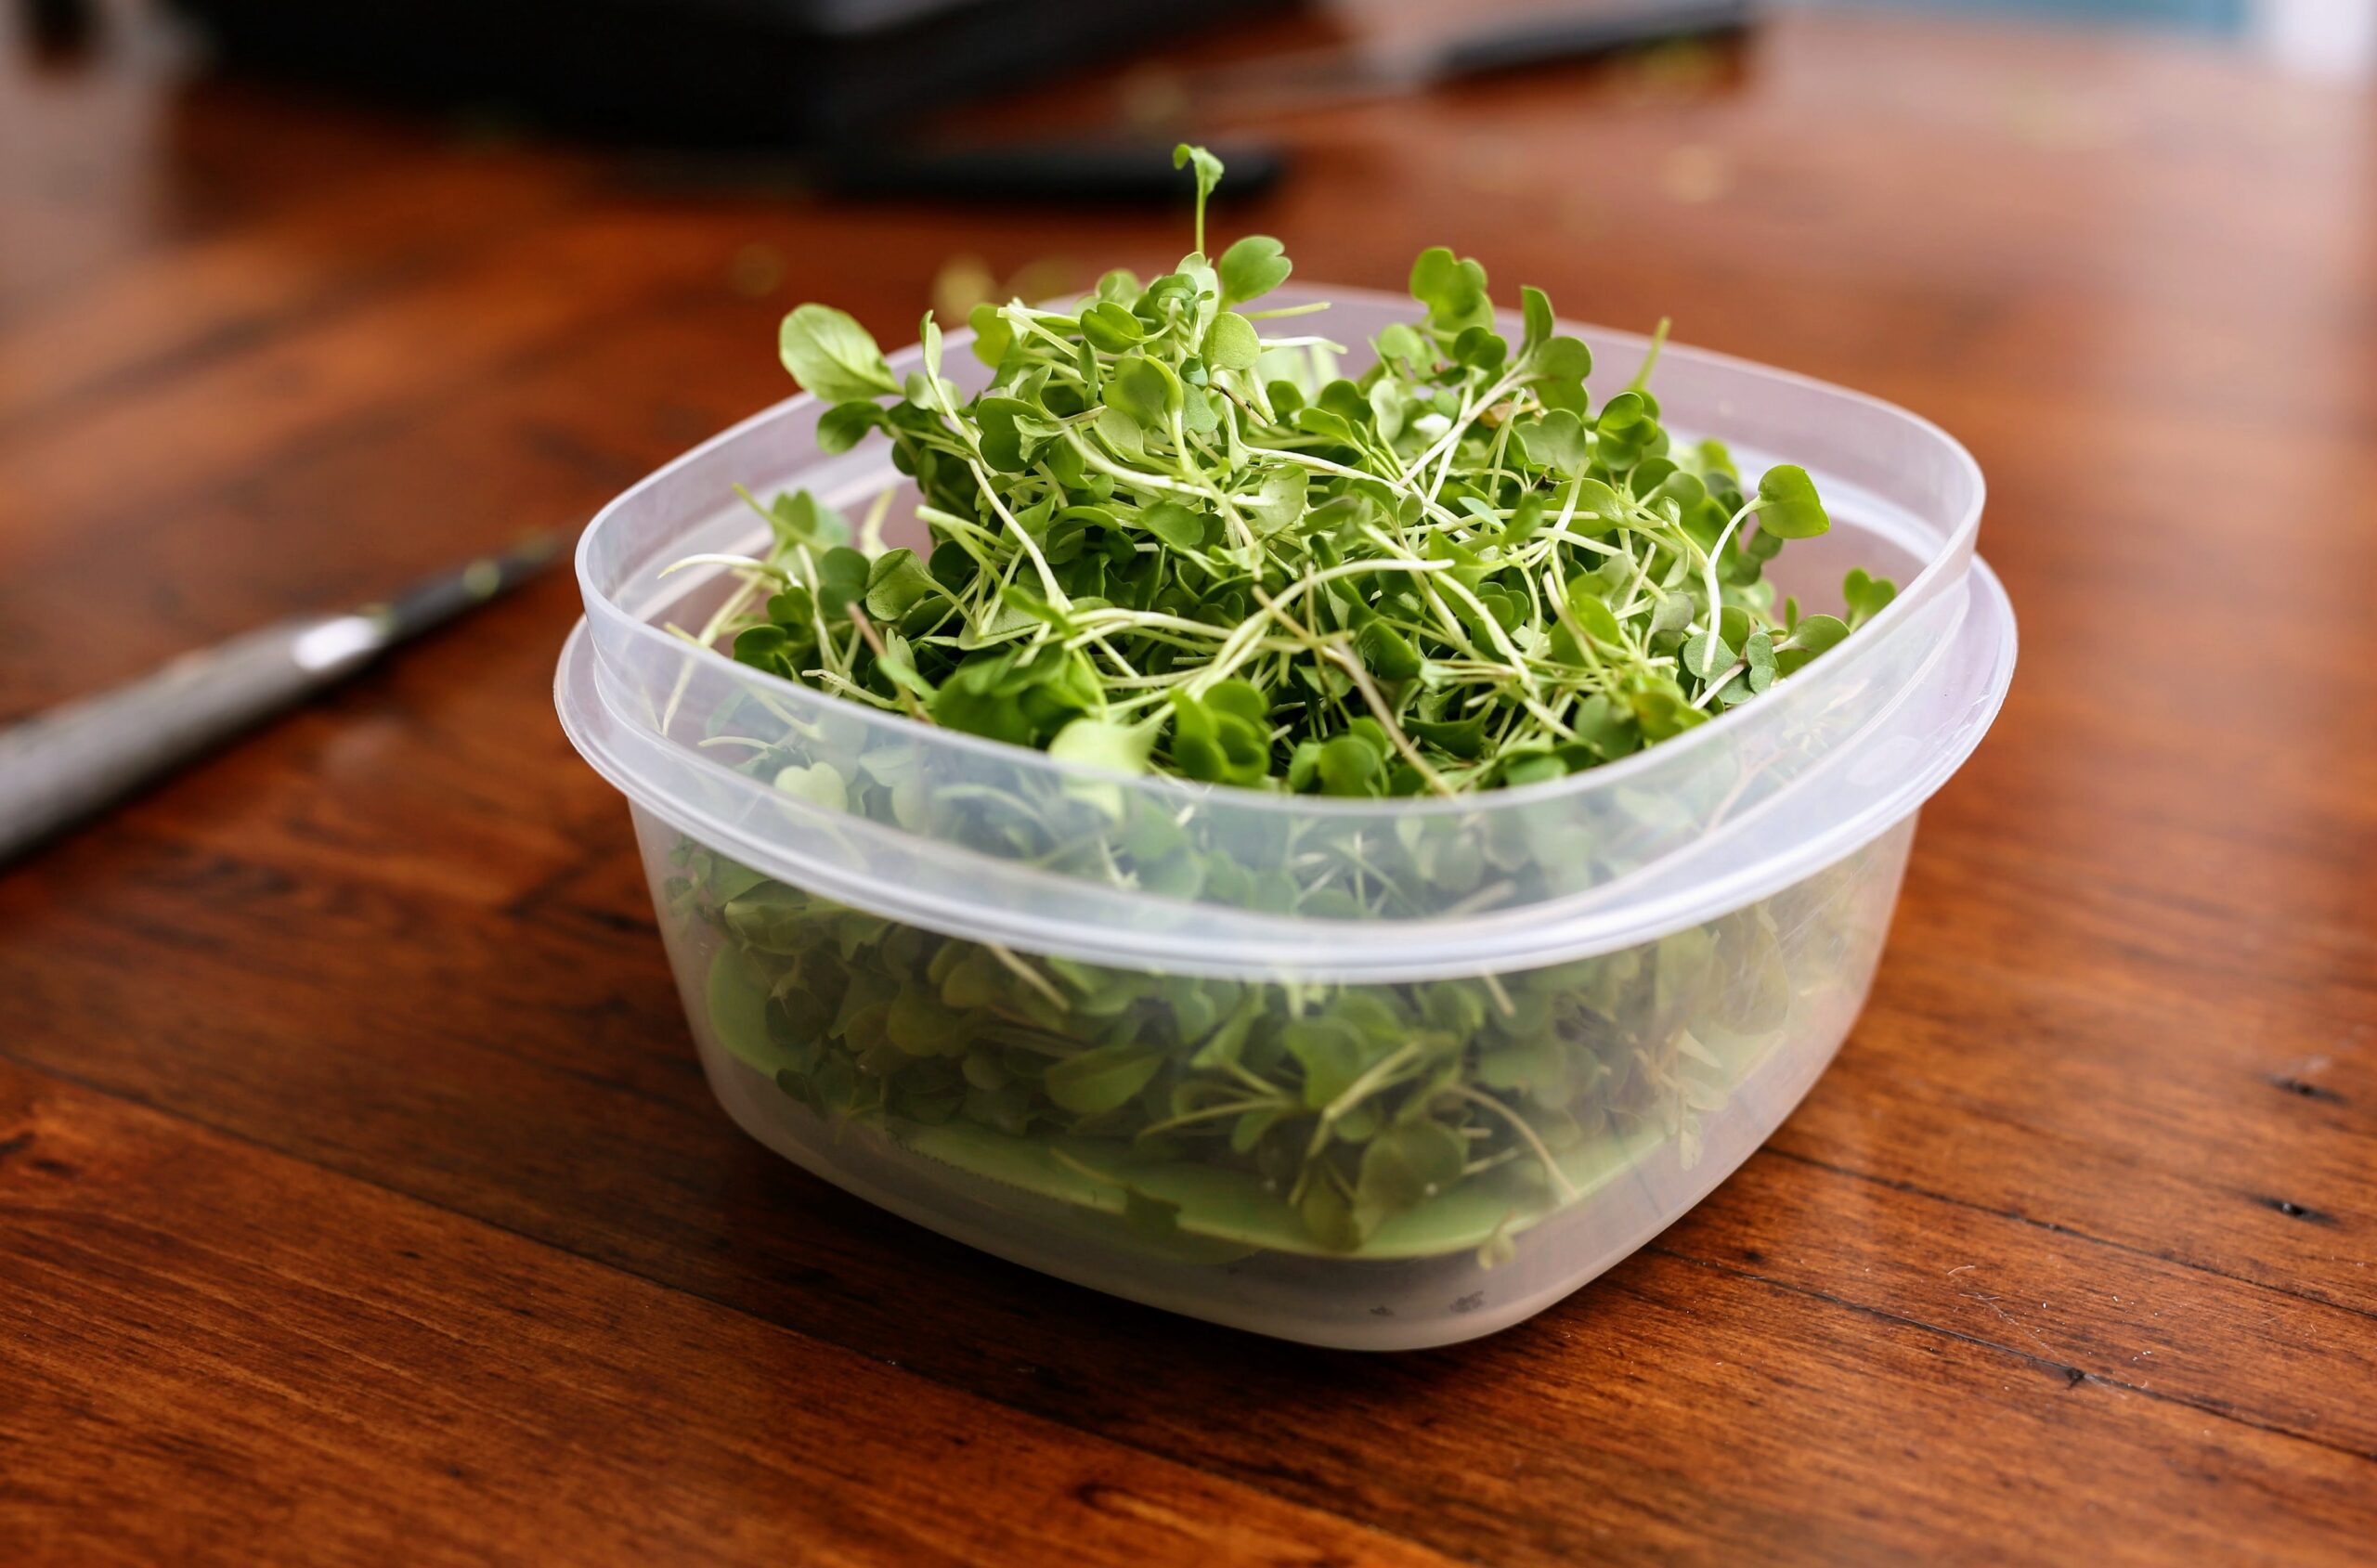
There’s a lot of reasons why you would only want to harvest some of your trays of microgreens at a time — aka partial harvests. One is, microgreens can go bad relatively quickly (there is a way to slow that down — see below), so you would only want to harvest 50, 75, 100g every few days. You may be growing four or six different types of microgreens, and harvesting 250g of each will give you a ton of the stuff that has a fridge shelf life of maybe 3 to 5 days — and going through a kilo to 1.5kg of the stuff will take some doing!
So you will most likely be doing partial harvests — something the commercial growers don’t have to be concerned with. Doing a partial microgreen harvest present a myriad of issues I was completely unaware of, until I started doing… partial harvests. They include:
- plant stress — which can lead to stunted growth, dead plants, and weird smells from the trays
- plants fall over — they typically want to fall down on the sides you cut since nothing is holding them up.
- stems lean over — another problem that makes harvest more difficult
- plants are still growing! You don’t want them to grow too much, then they lose their great taste!
On the last point — I found a super easy fix when I do partial harvests and want to preserve the rest of the tray for several more days, but not have the plants grow any more (or any more “true leaves” on than their first one)… I put the entire tray into a refrigerator! We have a small bar fridge in the basement, and we run it at about 3C. Turns out most of my microgreens a) don’t mind that temperature at all, and b) go dormant at that temperature — ie, stay fresh, but stop growing!
On the trays being stressed, I find this happens much less under grow lights, but much more when using winter’s natural light. So it’s not a problem any longer for me.
On plants falling over and leaning over, I’ve minimized this somewhat by using a commercial grower trick: When I first seed and set up the growing trays, I stack other trays on top of them, then a weight on top of them all. Why do this? It actually strengthens and toughens up the sprouts a bit — they will have to push all the weight above them as they start to grow, and this leads to stronger stems. Stronger stems is both a positive and negative —on the positive side, they are structurally strong and less prone to falling over — but on the negative side, if too strong and thick and they lose taste and can actually get “woody” (we want delicate when it comes to microgreens). It’s a balance you have to find.
I have found though that harvesting from the four corners of the trays inward leave more of the remaining plants strong and standing tall. So try that as well.
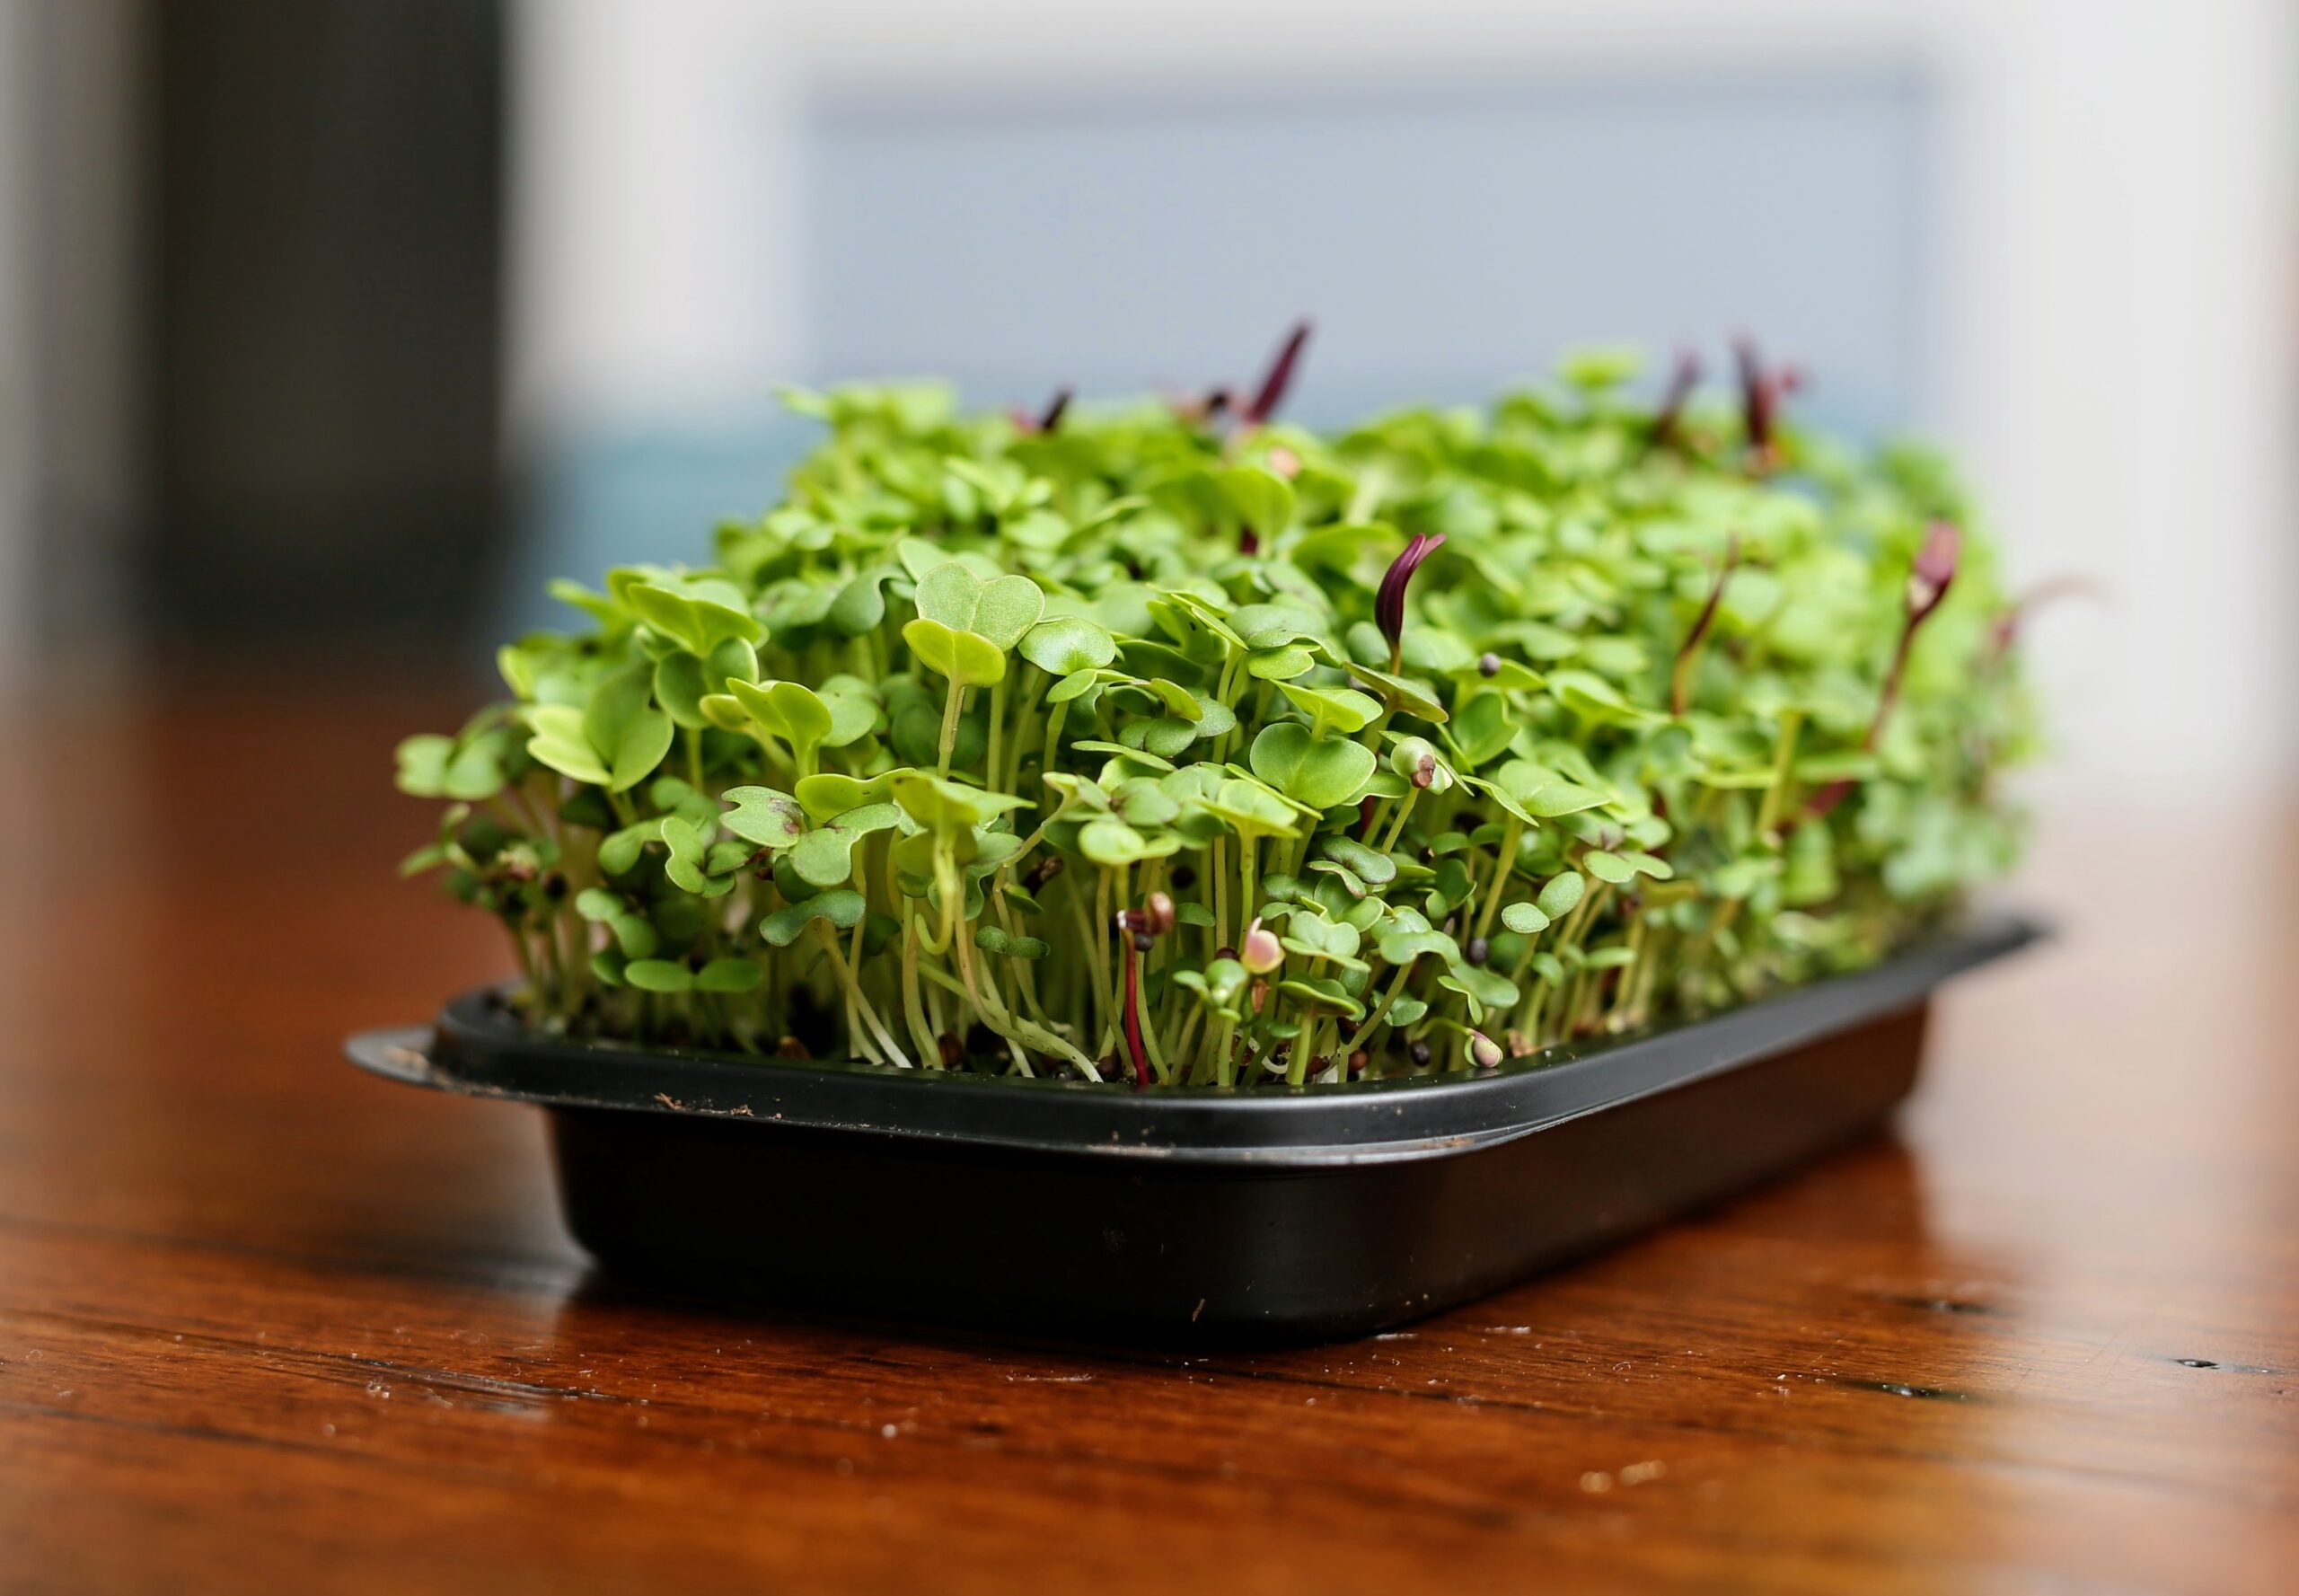
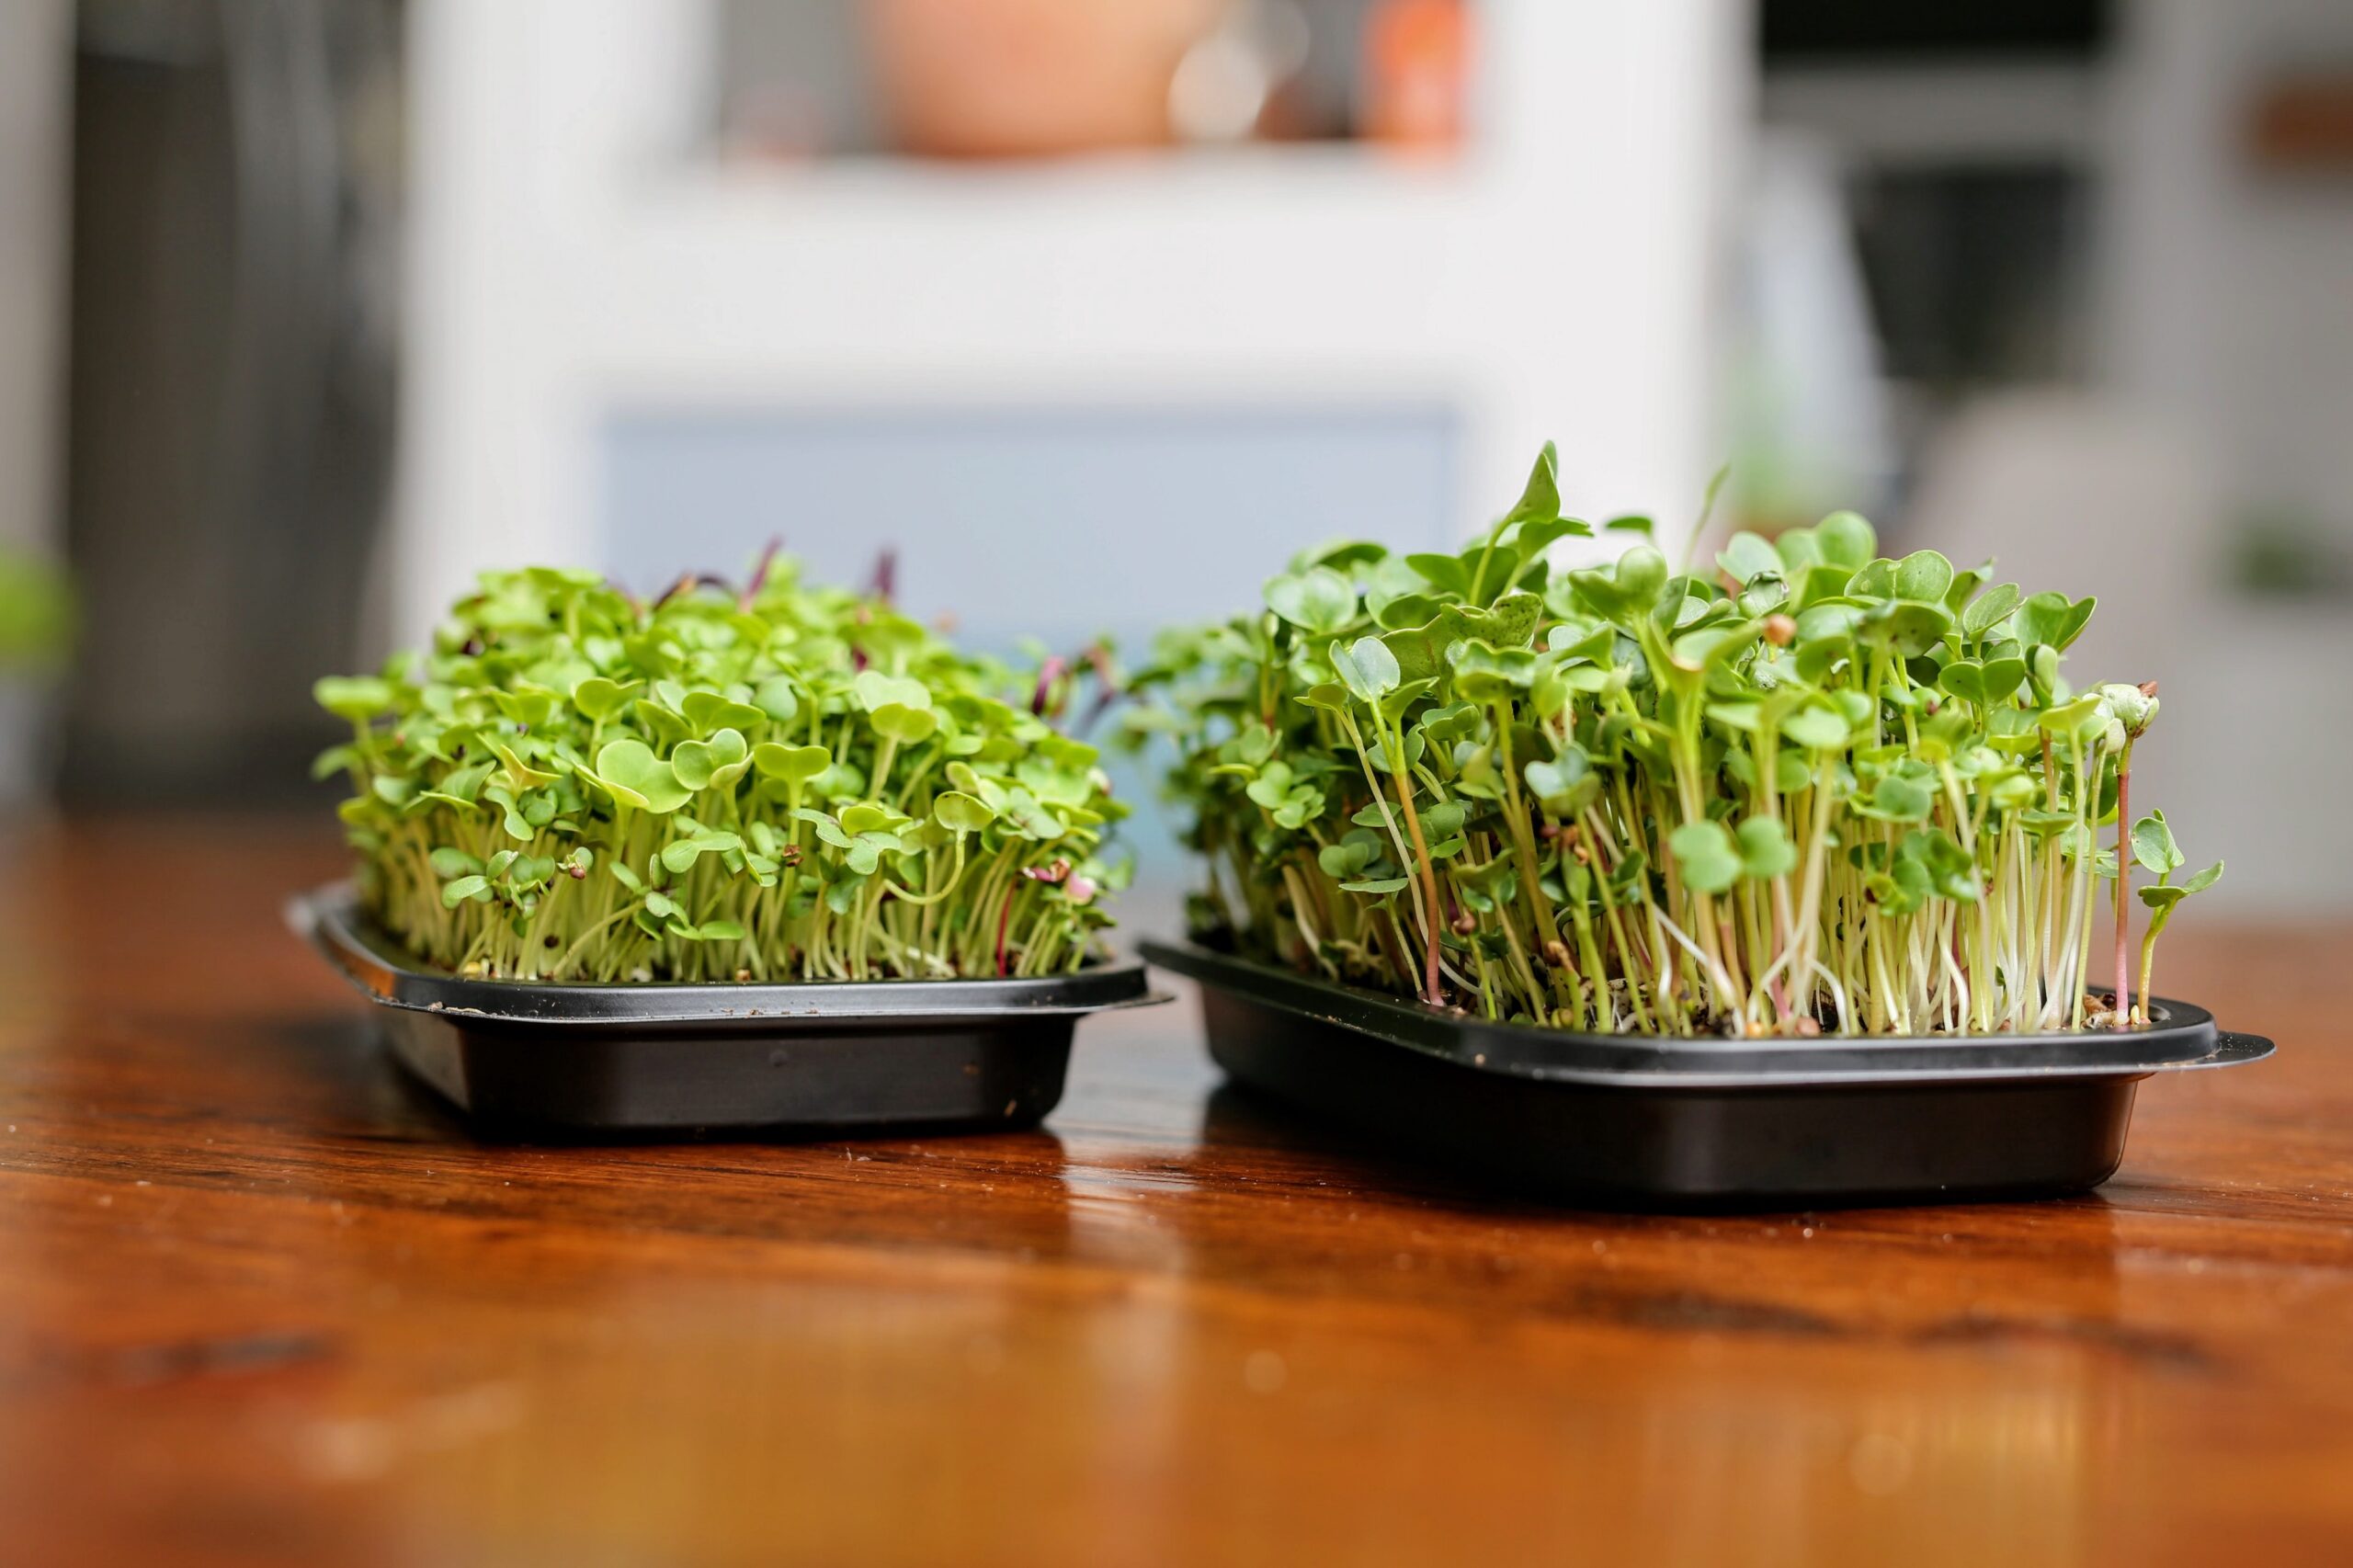
Here’s some of my recent trays, and you can see my partial harvests have been done.
Stuff I learned you don’t have to sweat (that commercial growers do worry about)
So commercial growers worry about a lot of things when doing their microgreen trays: dirt (soil) contact with the greens, drainage holes, super sterilization, watering systems, super heavy flattening of the soil, pre measuring and premixing everything, sifting their soil to get it to fine particles, etc etc. Their goal is maximum yield per tray. I get it. But you don’t have to worry about a lot of that stuff.
If a bit of dirt gets on your microgreens while harvesting, no big deal — clean them off. Put the entire batch in a salad spinner and rinse if you want. Of course, it’s most convenient to take a sharp knife or scissors and do a nice clean harvest without any dirt at all contacting your stems and leaves, but if it does, no big deal, just clean them off.
As for sterilization, drainage holes in your trays, and watering systems, the commercial guys are doing 30, 40, 50 or more trays at a time and need to make sure they don’t over water, that every tray avoids mold and rot as much as possible, and automated watering helps cut labour costs. You, at home? Just give your trays a good rinse between uses, use sterile potting soil mix (or mix your own), and just pay attention to the watering of your one, two or four trays. Here’s a serious tip though: never water the microgreens from above. These are delicate plants, and what water weight can ruin them. Always water them at the soil level, below the leaves. I use a kettle with a gooseneck to do it.
Now… measuring your seed is a good thing — and you need a .1g scale to do it. If you want to start a new tray every week or two, it’s a long term way to save money and get consistent harvests. But I’ve seen commercial growers weigh the soil too and have it that exact! You don’t need to do that. Also, I wouldn’t worry about sifting your soil. Just make sure it’s nice and even when you spread it out, and remove obvious big sticks, rocks and other big solid elements that would prevent seeds from sprouting.
Stuff I learned you do have to sweat about!
Okay, first, measure your seed! This helps you be consistent and takes the guesswork out of growing in your trays. What measurements to use? Here’s the amounts I’ve calculated from trial and error (to save you the work). These are all for full 10×20 trays, so cut them down depending on your growing tray size (get your calculators out).
- Arugula Microgreens: 13g, yield is about 250–300g per tray.
- Mustard Microgreens: 15g, yield is about 350–400g per tray.
- Red Russian Kale: 22g, yield is about 450g per tray.
- Red Cabbage: 18g, yield is about 400g (300g if just done to pilot leaf stage).
- Lemon Basil: 14g, yield is 450g per tray (takes a long time — about 4 weeks)
- West Coast Seeds 2 Week Blend: 14g, yield is 300–350g per tray.
- West Coast Seeds 3 Week Blend: 15g, yield is 350–400g per tray.
Basically, most brassicas are between 15 and 20g in seed for a 10×20 tray. Once you go to different size seeds, the game changes a bit.
- Sunflower Microgreens: 140g (yes), yield is… a lot. I didn’t weigh them. Well over 700g though.
- Pea Shoots: about 75g per tray, but still experimenting with this.
Also, you should make sure that you do the following to get your best home harvests:
- make sure everything is clean. You don’t have to bleach and sterilize everything, but do a nice soap clean and rinse of your growing trays between uses.
- use sterile potting soil — it’s about $10 per 25l bag up here, and that’s what I go with.
- cover your trays until the seed germinate. Since the seeds stay on the surface of the soil, they are exposed to light, and most seeds germinate best in darkness. put another tray on top of your seeded tray, and put a weight on that while you’re at it.
- speaking of that weight — I’m still out on whether weighing down the seeds with weights above them is necessary or not. I helps them contact the soil better, but I’ve had some fungus issues doing this, as well.
- avoid watering from above once the cotyledon leaves form — try watering from below (if the tray has drainage holes) or low, using a gooseneck type water delivery.
- super pro tip buy a ceramic knife (large paring knife, or small chef’s knife) and use that exclusively for cutting and harvesting your greens. Why? steel creates oxidization problems with the cut stems (ie, using a normal knife or scissors to cut), but a ceramic knife doesn’t do this.
And lastly, if you want this to be a regular part of your food system in your home, buy your seeds in bulk. Two vendors I buy from, West Coast Seeds, and Johnny’s Seeds, do sell microgreen seed in bulk, at a substantial savings per 100g compared to their basic retail packages of the seed. I typically buy most seed in the 500g to 1kg range, but for peas and sunflowers, in the 2–5kg range. Savings per 100g is a LOT.
Well, that’s pretty much everything I know about growing microgreens in the home. I may add to this down the road, but thanks for reading!